If you are wondering how to use ChatGPT to restore old photos, start with a good scan and a conservative request. ChatGPT can help clean visible scratches, dust, stains, fading, and mild softness when its image tools are available, but it cannot prove what a missing face or torn background originally looked like.
The safest workflow is restore, review, and preserve—not upload once and accept every invented detail. Keep the untouched scan, compare faces and clothing at full size, and treat reconstructed areas as interpretations rather than historical evidence.
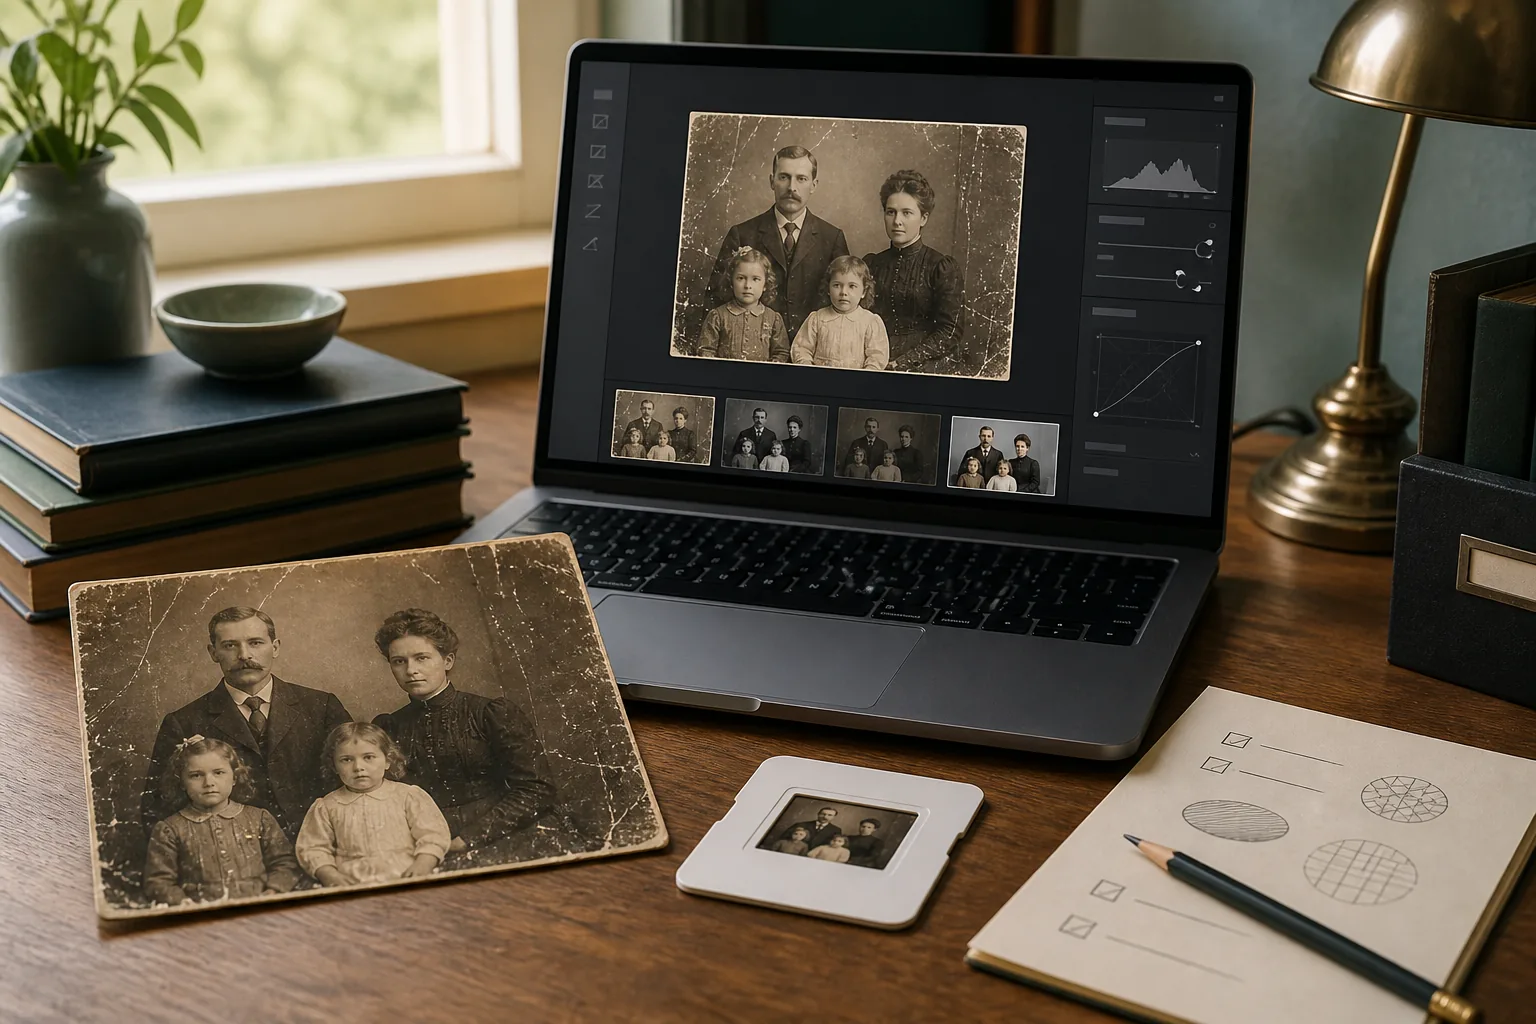
Table of Contents
- What ChatGPT Can and Cannot Restore
- Prepare the Best Scan Before You Upload
- Upload the Photo and Write a Constrained Request
- Review the First Result and Iterate One Problem at a Time
- Check Identity, Detail, and Historical Plausibility
- Export a Master and a Sharing Copy
- Frequently Asked Questions
- Restore Carefully, Then Preserve the Evidence
What ChatGPT Can and Cannot Restore
ChatGPT is useful when the damage is visible and there is enough surrounding information to guide an edit. It may help reduce dust, scratches, stains, mild fading, uneven contrast, and some softness. The result is still an AI-generated edit, so the cleanest-looking version is not automatically the most faithful version.
A missing eye, a torn hand, or a completely blank section of paper cannot be recovered from nothing. The model may create a plausible continuation based on nearby shapes and common visual patterns. That can make a family photo easier to share, but it should not be presented as verified history.
Use ChatGPT first for:
- Visible scratches, dust, small stains, and light crease marks.
- Faded contrast or a mild color cast when you want a natural correction.
- A first-pass cleanup before a more controlled Photoshop or restoration workflow.
- Testing whether a damaged scan contains enough detail for a useful restoration.
For a high-value original, make a duplicate before uploading. If the photo contains sensitive family information, review the service's current privacy and retention terms before sharing it.
Prepare the Best Scan Before You Upload
A stronger input gives ChatGPT less reason to guess. Wipe dust from the scanner glass, flatten the print without forcing a fragile curl, and capture the full border if it contains useful context. If you are scanning a loose print, use a flatbed at around 600 DPI for a normal family photo and keep a lossless master when possible. See the guide to scanning old photos for resolution and file-format choices.
- Save the untouched scan with a clear filename such as 1954-family-portrait-original.tif or .png.
- Make a working copy and crop only distracting empty margins; do not crop out hands, clothing, captions, or edge damage that helps explain the scene.
- Check that faces are in focus and that highlights are not clipped. A phone photo of a print can work, but avoid glare, curved perspective, and strong shadows.
- If the source is tiny, ask for a conservative restoration first. Do not combine aggressive upscaling, colorization, face replacement, and background changes in the first request.
Quick input check
| Check | Good starting point | Why it matters |
|---|---|---|
| File | PNG, TIFF, or a high-quality JPEG | Preserves texture and reduces compression damage. |
| Framing | Entire photo plus useful edges | Prevents the model from guessing missing context. |
| Light | Even, glare-free scan or capture | Avoids mistaking reflections for scratches or stains. |
| Master | Untouched copy kept separately | Lets you compare every AI change and return to the source. |
Upload the Photo and Write a Constrained Request
Open a ChatGPT conversation that supports image uploads, attach the working copy, and describe what is visibly wrong before asking for an edit. Interface names and image features can change, so use the current ChatGPT image-editing help article as the source of truth for available controls.
- Attach the scan and state that it is an old family photograph, not a request for a modern portrait makeover.
- Name the visible damage: scratches on the upper-left area, dust across the background, faded contrast, or a small tear near the border.
- List what must stay unchanged: face shape, age, expression, hairstyle, clothing, pose, people count, camera angle, background, and period character.
- Ask for one conservative restoration pass. Save the result, compare it with the original, and only then request a targeted follow-up.
Restore this old family photograph conservatively. Remove only the visible scratches, dust, stains, small crease marks, and mild fading. Preserve every person's identity, face shape, age, expression, hair, clothing, pose, hands, background, lighting, composition, and historical texture. Do not beautify, de-age, modernize, replace faces, add people, invent jewelry, or change the time period. If a detail is missing, leave it restrained and natural rather than inventing a confident new feature.
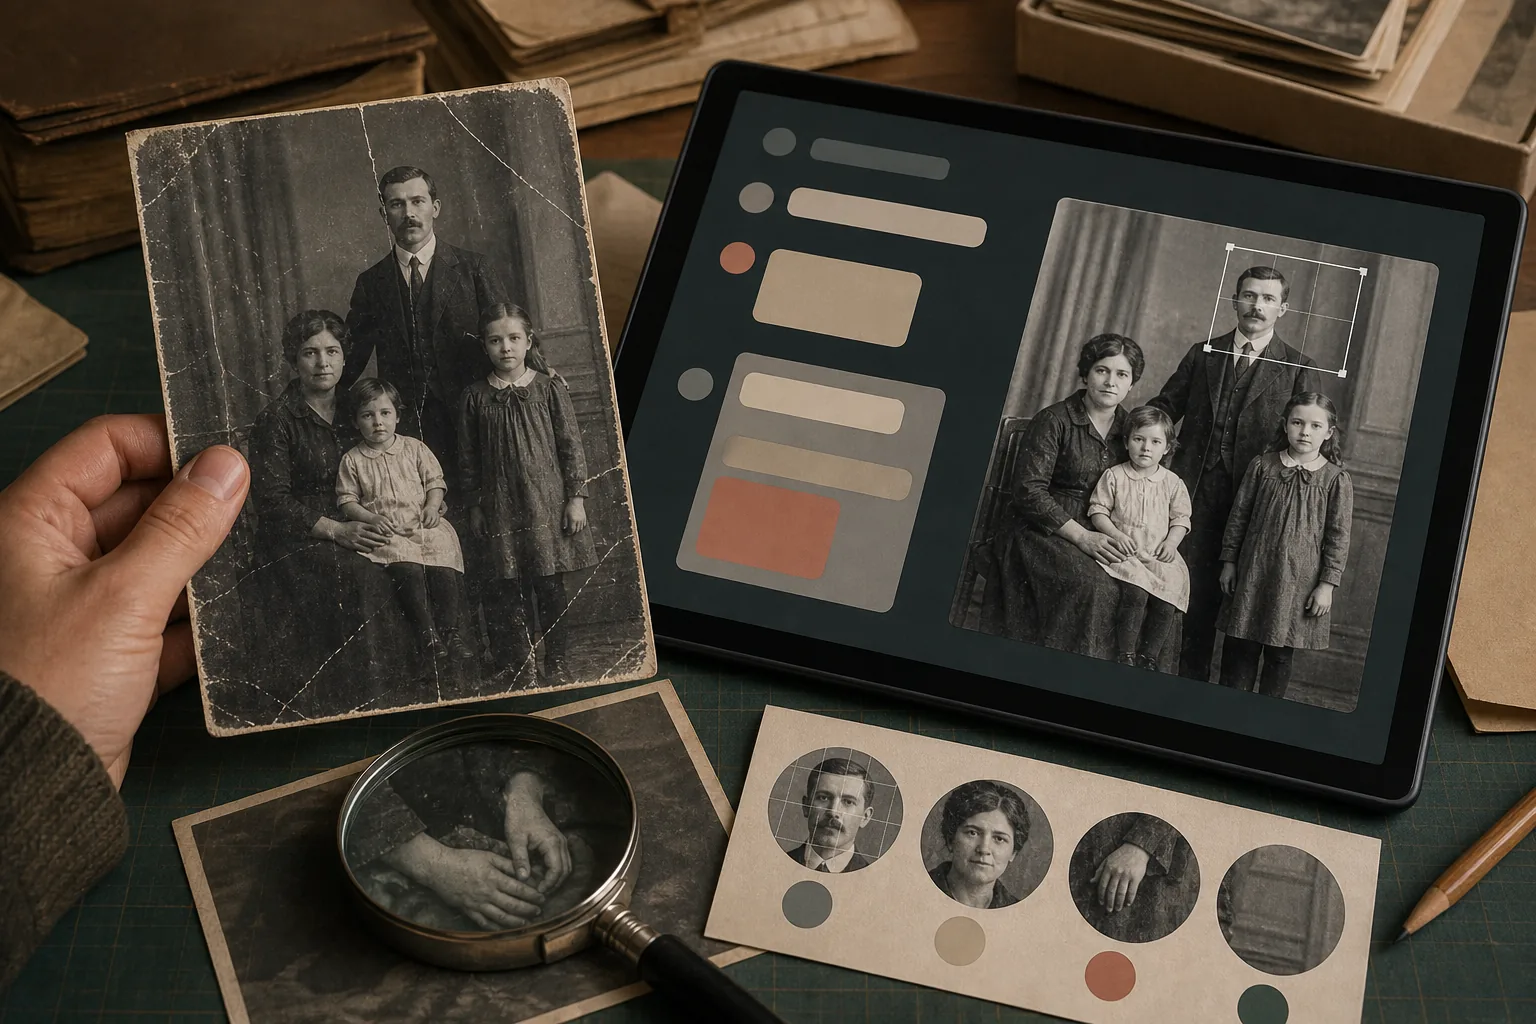
Keep the first request specific but not overloaded. If you ask for scratch removal, colorization, a new background, cinematic lighting, and a high-fashion portrait in one sentence, the model has competing goals. The existing old photo restoration prompt library can supply variations, but use one problem-specific prompt at a time.
Review the First Result and Iterate One Problem at a Time
Do not judge the result only as a thumbnail. Zoom in on the eyes, mouths, hands, hairlines, buttons, glasses, printed lettering, and high-contrast edges. Compare the output with the untouched scan and ask whether the edit repaired a known defect or quietly created a new detail.
| What you see | Next request | What to verify |
|---|---|---|
| A scratch remains on the background | Remove only the remaining diagonal scratch in the upper-right background; leave people untouched. | The background texture is repaired without smoothing the face. |
| A face looks younger or different | Restore the original facial proportions and age; undo beautification and match the source expression. | Eyes, jawline, hairline, and expression match the scan. |
| Colorization looks too vivid | Reduce saturation and keep a restrained period-appropriate palette; preserve the original grayscale copy. | Skin, clothing, and background do not look artificially bright. |
| A torn area is invented too confidently | Keep the missing area subtle and visibly uncertain; do not add unsupported objects or text. | The edit is useful without pretending to recover unknown history. |
A good iteration changes one variable so you can tell whether the repair improved the photograph.
If the face changes repeatedly, stop escalating the prompt. Try a better scan, a smaller crop, or a manual editor with a reversible layer. For a broader method comparison, read the guide to AI photo restoration techniques.
Check Identity, Detail, and Historical Plausibility
A restoration is ready for export only after a deliberate quality check. This is where you catch the attractive but wrong result: a changed smile, extra fingers, invented text, modern clothing details, repeated patterns, or a background that no longer belongs to the original scene.
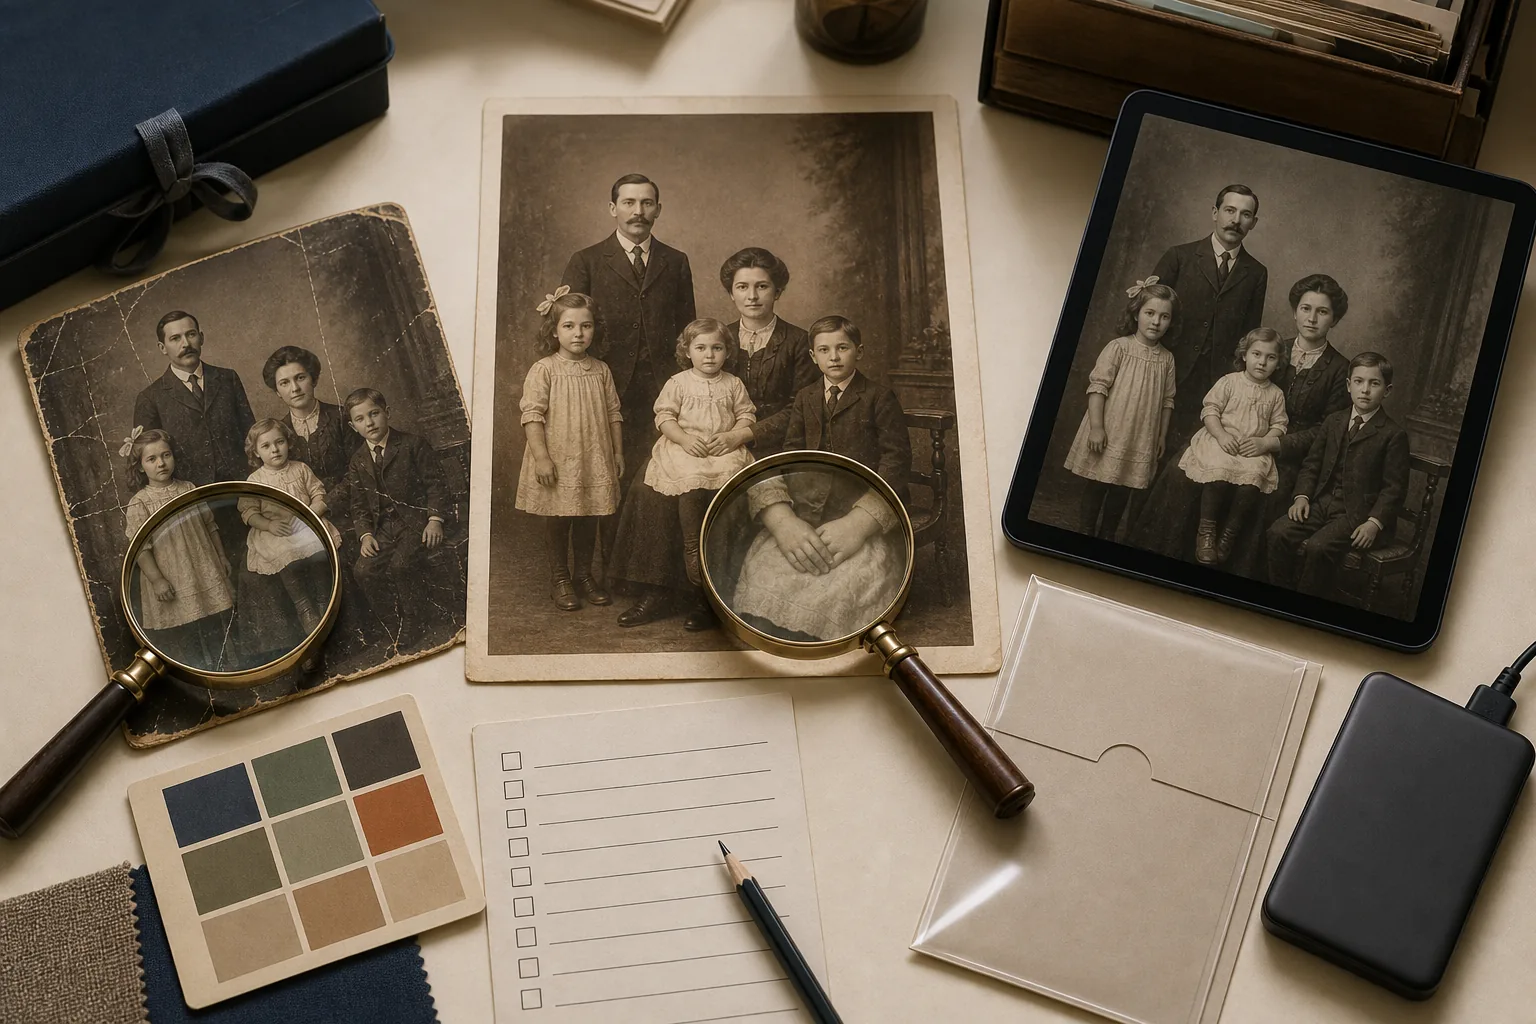
Review these areas at 100% or closer:
- Identity: eyes, nose, mouth, face shape, age, hairline, and expression.
- Hands and edges: fingers, eyeglass frames, buttons, jewelry, hems, and torn borders.
- Scene consistency: people count, body proportions, shadows, perspective, and background lines.
- Texture: skin should not become plastic, paper grain should not become glitter, and scratches should not turn into repeated patterns.
- Text and symbols: captions, signs, uniforms, or documents must not be treated as safely reconstructed if they are unreadable in the source.
For genealogy, legal records, museum work, or historical research, preserve the original scan and label the AI output as restored or interpreted. Do not replace the source in an archive.
Export a Master and a Sharing Copy
When the result passes review, download the highest-quality version available and keep the original scan beside it. Use clear filenames such as 1954-family-portrait-restored-chatgpt-v1.png, and record the date, tool, prompt version, and any edits that may affect interpretation.
- Keep the untouched scan read-only or in a separate archive folder.
- Save a lossless or high-quality master for future printing and a smaller JPEG or WebP copy for sharing.
- If you colorized the photo, keep a repaired grayscale version too. Color is an interpretation, not proof of the original colors.
- Back up the original and restored files in at least two locations. Reopen the exported file once to check that the download is not corrupted.
If the scan is too blurry for ChatGPT to review confidently, use the phone-first advice in restore blurry old photos on a phone. If you prefer a purpose-built workflow instead of prompt iteration, try the old photo restoration tool on a duplicate file.
Ready to Compare Another Workflow?
Use the same review checklist—identity, edges, texture, and original-file safety—when testing any AI restoration tool.
Restore an Old PhotoFrequently Asked Questions
Restore Carefully, Then Preserve the Evidence
The best way to use ChatGPT for old photo restoration is to treat it as a guided editing assistant, not a time machine. Start from a clean duplicate, describe visible damage, protect identity, review every uncertain area, and keep the original scan. That workflow gives you a useful shareable image without confusing an AI interpretation with the family photograph that came first.

Sarah Mitchell, AI Photo Restoration Writer
Sarah writes about family photo preservation, AI restoration, and practical ways to protect visual memories. She focuses on workflows that ordinary families can use without losing the original context of a photograph.