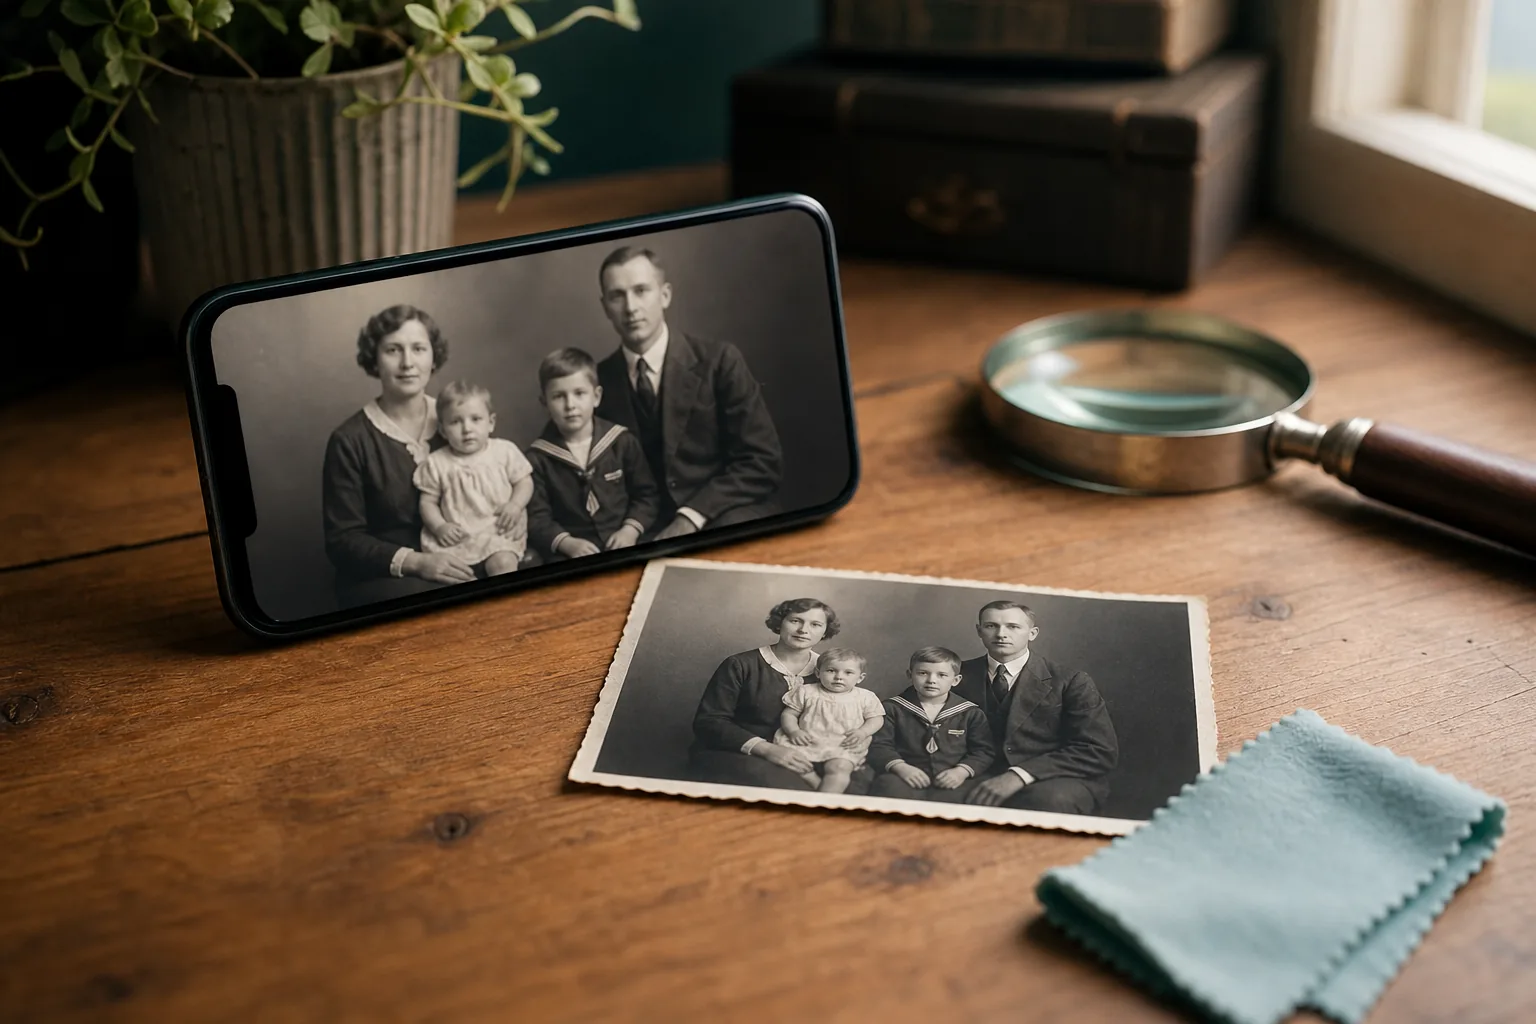
The most reliable way to restore blurry old photos on a phone is to create the cleanest copy you can first, then use a deblur or restoration tool on a duplicate. Hold the phone steady, use indirect light, crop and straighten the capture, and compare the result with the untouched source before sharing it.
AI can improve mild or moderate blur, but it cannot prove what an unreadable face, handwritten name, or missing edge originally looked like. Treat a restored image as an interpreted working copy, not a replacement for the family archive.
In this guide
- Quick answer: restore a copy, not the only photo
- Capture the old photo clearly with your phone
- Identify the type of blur before choosing a fix
- App, browser, or desktop software: which is better?
- A safe phone-first restoration workflow
- What AI can and cannot recover
- Common phone restoration mistakes
- Practical references for safer photo work
- Blurry old photo restoration FAQ
- Restore the memory without losing the evidence
Quick answer: restore a copy, not the only photo
Start by photographing or scanning the print again if the current file is dark, tilted, reflective, or heavily compressed. Save that capture as the source master. Then make a working copy, use a focused deblur tool for blur, and only add scratch repair, contrast recovery, or colorization after you have checked the face and important details.
Which phone workflow fits the problem?
| What you have | Best first move | What to watch |
|---|---|---|
| A printed photo that looks blurry in a phone picture | Recapture it with the phone parallel to the print and use soft side light. | Glare and perspective can look like blur. |
| A clean scan with mild softness | Use a deblur or photo-enhancer tool on a duplicate. | Sharpening can create halos around faces and text. |
| Motion blur or camera shake | Try a dedicated deblur pass before general restoration. | Severe streaking may contain too little real detail to recover. |
| Blur plus scratches, tears, or stains | Capture a clean master, then repair one damage type at a time. | Do not let the tool invent facial features to fill damage. |
| An image that is actually deleted from a phone backup | Use the phone platform's recovery or backup help first. | This is photo recovery, not visual photo restoration. |
If you only want an immediate browser workflow, try the AI photo unblur tool. If the print itself needs careful capture first, read how to scan old photos before you upload it.
Capture the old photo clearly with your phone
A restoration model can only work with the pixels you give it. A phone camera is convenient, but a rushed snapshot adds reflections, lens distortion, soft focus, and compression before restoration even begins. Place the print on a flat, clean surface and make the capture itself as repeatable as possible.
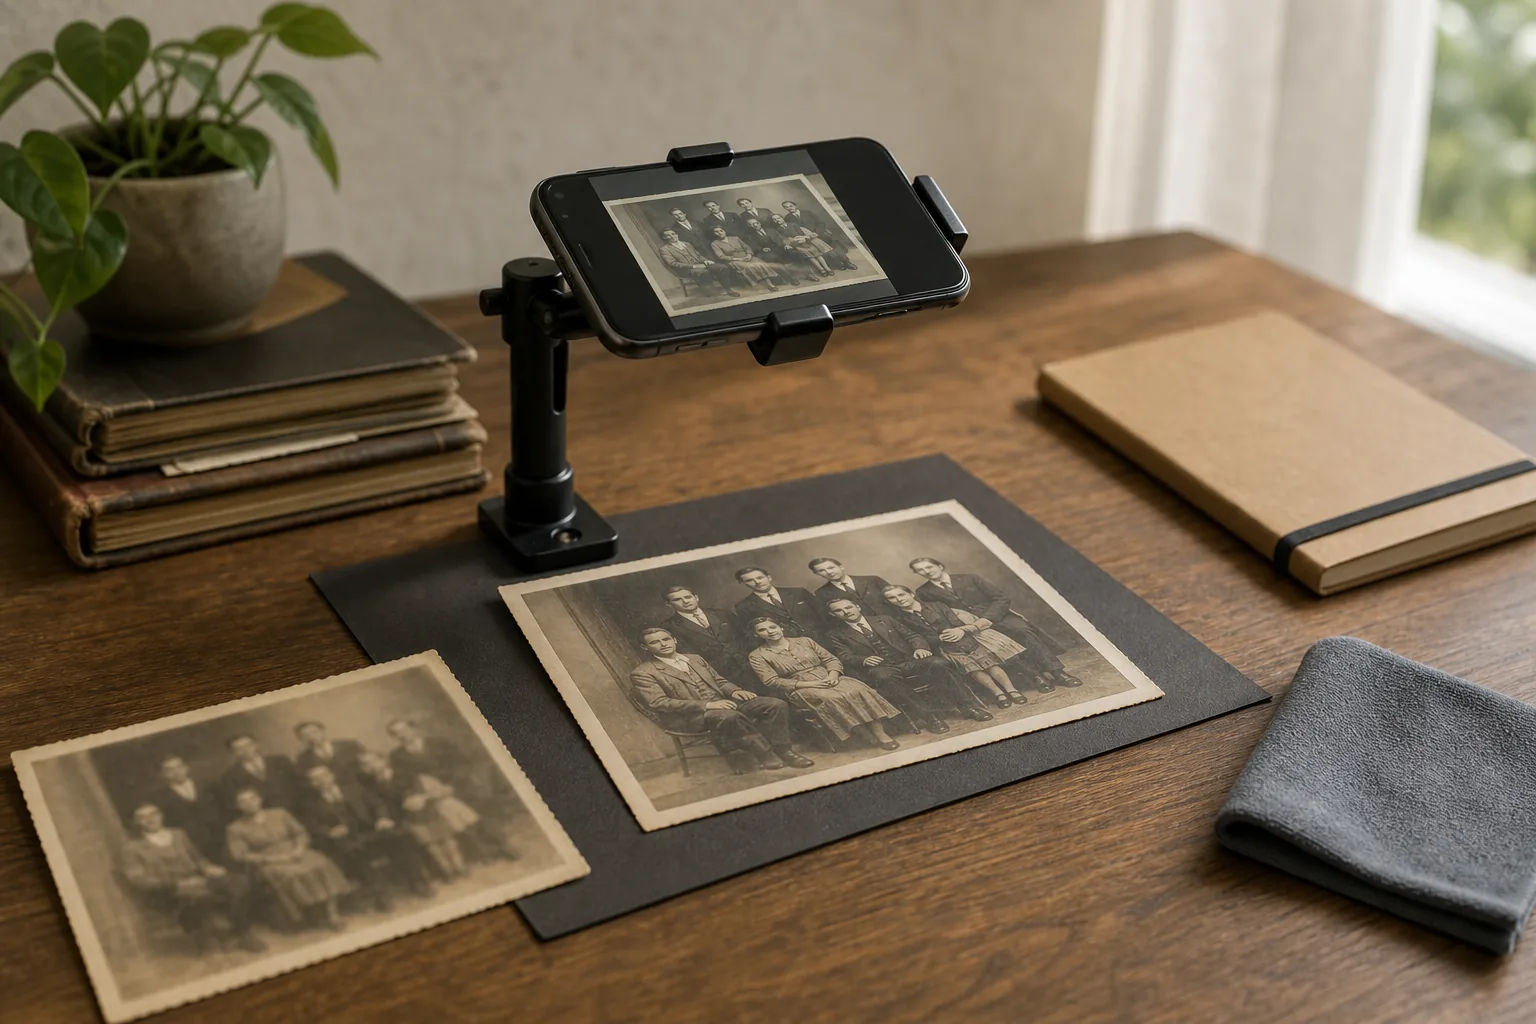
- Clean the phone lens and the scanner glass or surface holding the print.
- Use indirect daylight or two soft light sources from the sides; avoid a bright lamp reflected straight into the camera.
- Place the phone parallel to the photograph. A small stand or tripod is better than holding it by hand.
- Tap to focus on the print, turn off portrait blur and decorative filters, and use the camera's full-resolution setting.
- Leave a narrow border around the print so you can straighten and crop without cutting away torn edges or handwritten notes.
- Take one color capture even when the original is black and white. Paper tone, stains, and fading can help you judge the restoration later.
Do not press a brittle, curled, wet, flaking, or stuck photograph flat against a phone stand or scanner. Photograph it without forcing it, and ask a conservator before separating layers or cleaning severe damage.
Identify the type of blur before choosing a fix
“Blurry” is a useful search word but not one technical problem. The right first step depends on whether the source moved during capture, missed focus, lacks enough pixels, or has been damaged by repeated compression. Zoom to 100% and inspect edges, eyes, clothing seams, and any printed text instead of judging only the full-screen preview.
Blur diagnosis on a phone
| Blur type | Clues | Likely next step | Limit |
|---|---|---|---|
| Motion blur | Edges stretch in one direction, especially around hands or faces. | Try deblur with a restrained strength. | The original edge position may be unknowable. |
| Out-of-focus blur | The whole photo is soft and no direction dominates. | Use a photo-enhancer or deblur pass, then inspect facial detail. | A missed focus plane cannot always be reconstructed. |
| Camera shake | Double edges or ghosted outlines appear across the frame. | Recapture on a stand if possible; otherwise test a deblur copy. | Aggressive sharpening makes the double edge worse. |
| Low-resolution blur | The file is tiny, pixelated, or downloaded from a social platform. | Find the largest original scan or phone file before upscaling. | Upscaling adds pixels, not verified history. |
| Damage that resembles blur | Scratches, stains, folds, or missing emulsion cover the detail. | Use a repair workflow after preserving the source. | Generated repair should be reviewed as an interpretation. |
App, browser, or desktop software: which is better?
A phone app is convenient when you are working through a small family collection and want to stay on the device. A browser tool is useful when you want to open the same workflow on a larger screen or avoid installing another app. Desktop software gives more manual control for masks, layers, and historically important photographs, but it takes longer to learn.
Choose the tool by the job, not by the strongest-looking preview
| Option | Good fit | Check before export |
|---|---|---|
| Phone app | Quick tests, small batches, and photos that already live on the phone. | Output resolution, export format, watermark, and whether the original stays untouched. |
| Browser tool | A simple deblur or restoration pass without desktop software. | Upload terms, file limits, account requirements, and the quality of the downloaded copy. |
| Desktop editor | Manual repair, layers, masks, selective sharpening, and archive projects. | Save a layered or lossless master and document what was changed. |
| Professional conservator | Rare, wet, flaking, historically important, or severely missing photographs. | Ask how the original will be handled and request a preservation-safe deliverable. |
The phrase “best app to restore old photos” can also mean visual restoration, deleted-photo recovery, or colorization. Check the result page and the tool's actual function before choosing it. For a broader comparison, see best photo restoration software.
A safe phone-first restoration workflow
- Save the first capture as an archive master. Give it a descriptive filename and do not overwrite it.
- Make a working copy and crop only the copy. Keep enough border to compare the result with the original.
- Straighten perspective and remove obvious glare or empty background before you judge sharpness.
- Run one restrained deblur or enhancement pass. Avoid stacking several automatic sharpen filters.
- Repair scratches, stains, tears, or fading in a separate pass when they interfere with the face or important objects.
- Review at full size and at normal viewing size. Check eyes, teeth, hair, clothing seams, handwriting, and straight lines for invented detail.
- Export a high-quality working image for printing or sharing, while keeping the untouched master and a note about the restoration steps.
If the image is also faded, use the faded-photo restoration guide after you have made the clean capture. If scratches dominate, use the scratch-removal guide instead of asking one filter to solve every defect at once.
What AI can and cannot recover
AI restoration is strongest when the photo still contains real edges and recognizable structure. It can often improve mild softness, contrast, dust, small scratches, and low-resolution scans. It cannot verify the exact original eye color, restore a face that is completely missing, or recover text that was never captured by the camera.
Use a lower-strength or fidelity-oriented setting when:
- The photo contains a person whose identity matters more than a dramatic “before and after.”
- Uniforms, medals, signs, jewelry, handwriting, or other historical details must remain believable.
- The source is a family archive and you need to distinguish repair from artistic reinterpretation.
- You are preparing a print and want to avoid halos, plastic-looking skin, or repeated facial patterns.
Common phone restoration mistakes
- Using a screenshot or social-media download when a larger original scan exists.
- Applying maximum sharpness because the preview looks more dramatic at first glance.
- Uploading the only copy and then replacing it with the processed download.
- Judging a face only when zoomed in, where invented texture can look convincing but unnatural at normal size.
- Colorizing before repairing severe scratches or tears that cross the face and clothing.
- Assuming an app that recovers deleted phone files also restores blur in a photograph.
- Flattening a fragile print, removing stuck layers, or cleaning a wet photograph without preservation advice.
A good restoration is usually less spectacular than a careless one. Preserve the evidence, make one change at a time, and keep the family story attached to the file through a date, description, and source note.
Practical references for safer photo work
The phone workflow here combines practical capture advice with a non-destructive editing mindset. These references provide additional background on scanning, retouching, and caring for photographic materials:
Further reading
Blurry old photo restoration FAQ
Restore the memory without losing the evidence
The best phone workflow is careful rather than dramatic: capture the print cleanly, preserve the first file, make a duplicate, diagnose the blur, apply one restrained restoration pass, and review identity at normal size. When the photo is rare, fragile, or severely damaged, a phone can document it safely, but professional conservation or manual editing may be the better next step.

Sarah Mitchell
Sarah writes about AI photo restoration, phone-based scanning, family-photo preservation, and practical workflows that keep original memories identifiable.