The best old photo restoration online free option depends on the damage, how sensitive the image is, and what the free plan actually includes. For one faded family portrait, a browser AI tool is usually the fastest first test. For irreplaceable scans, compare the result carefully and keep the untouched original before choosing a heavier workflow.
Free does not always mean unlimited or login-free. Check export limits, watermarks, credits, upload privacy, and whether the tool changes faces before treating any result as archive-ready.
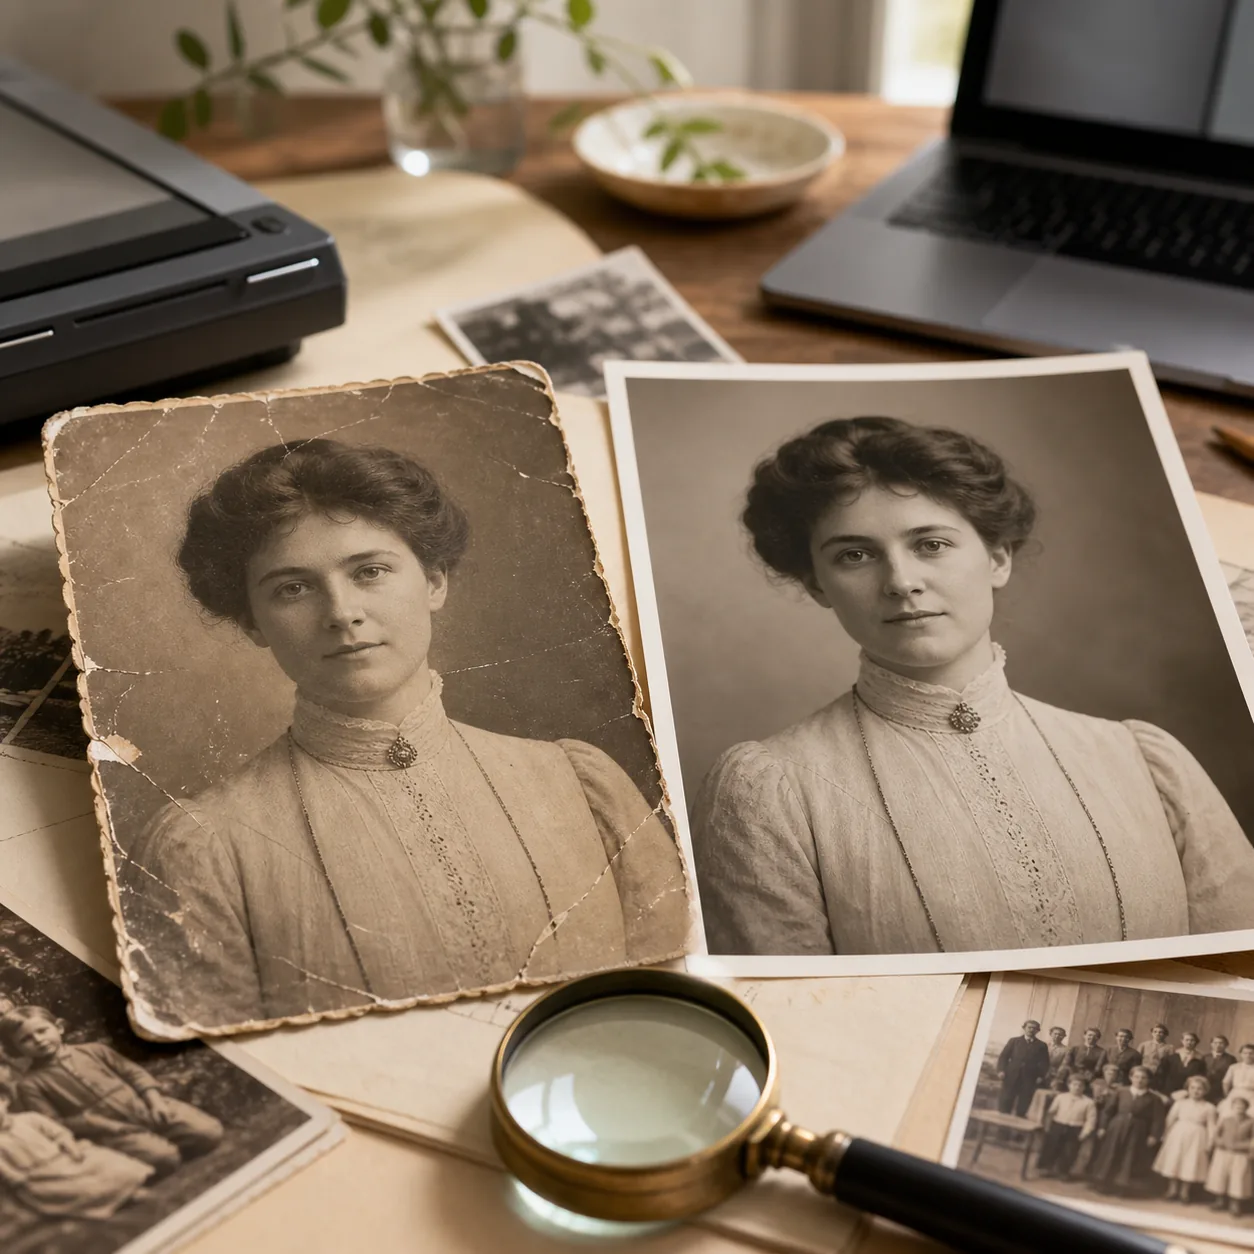
Table of Contents
- Quick Picks: Which Free Online Option Fits Your Photo?
- Old Photo Restoration Tools: What to Compare
- Choose by Damage Type, Not by Marketing Promise
- What Free Usually Means for Online Photo Restoration
- A Fair Before-and-After Test for Free Tools
- Privacy and Historical Accuracy Checks
- Official Pages Worth Checking Before You Upload
- Frequently Asked Questions
- The Best Free Tool Is the One You Can Review Honestly
Quick Picks: Which Free Online Option Fits Your Photo?
There is no single winner for every old photo. Use the quick picks below as a starting point, then test the same low-risk copy in two tools when the photo matters. The goal is a believable, reviewable restoration—not the sharpest or most dramatic output.
| Option | Best for | Free-first expectation | Main tradeoff |
|---|---|---|---|
| OldPhotoRestoration.org online AI | A quick browser test for faded, scratched, blurry, or low-resolution family photos | A free test may be available; account or credit rules can apply | Less manual control than a desktop editor; review identity and export terms |
| Pixelbin restore-old-photos tool | A simple cleanup pass when you want a focused browser workflow | Free usage and limits can change; check the current upload screen | Specialized cleanup may not replace manual work on missing areas |
| Fotor or a similar browser editor | Light enhancement, tone correction, and sharing-ready edits | Useful for trying a quick enhancement, but export features may vary by plan | A general editor may be less conservative with faces or texture |
| Photoshop or another professional web editor | Precise manual repair, layers, masks, and high-value originals | Usually not the best free-first choice for a one-off restoration | More time, skill, and possible subscription cost |
| GIMP or a local ComfyUI workflow | Privacy, repeatable batch work, or learning restoration hands-on | The software can be free, but setup and your time are the cost | Not the fastest online path; models and hardware may be required |
Free access, credits, watermarks, and sign-in requirements change. Recheck the live product page before uploading a sensitive photo.
For a one-off family photo, start with the least complicated browser workflow. For a unique archival scan, keep the original file untouched and treat every AI output as a working copy.
Want the Fastest First Test?
Start with one duplicate scan, then compare the face, damage, export quality, and current free conditions before choosing a tool for more photos.
Restore an Old PhotoOld Photo Restoration Tools: What to Compare
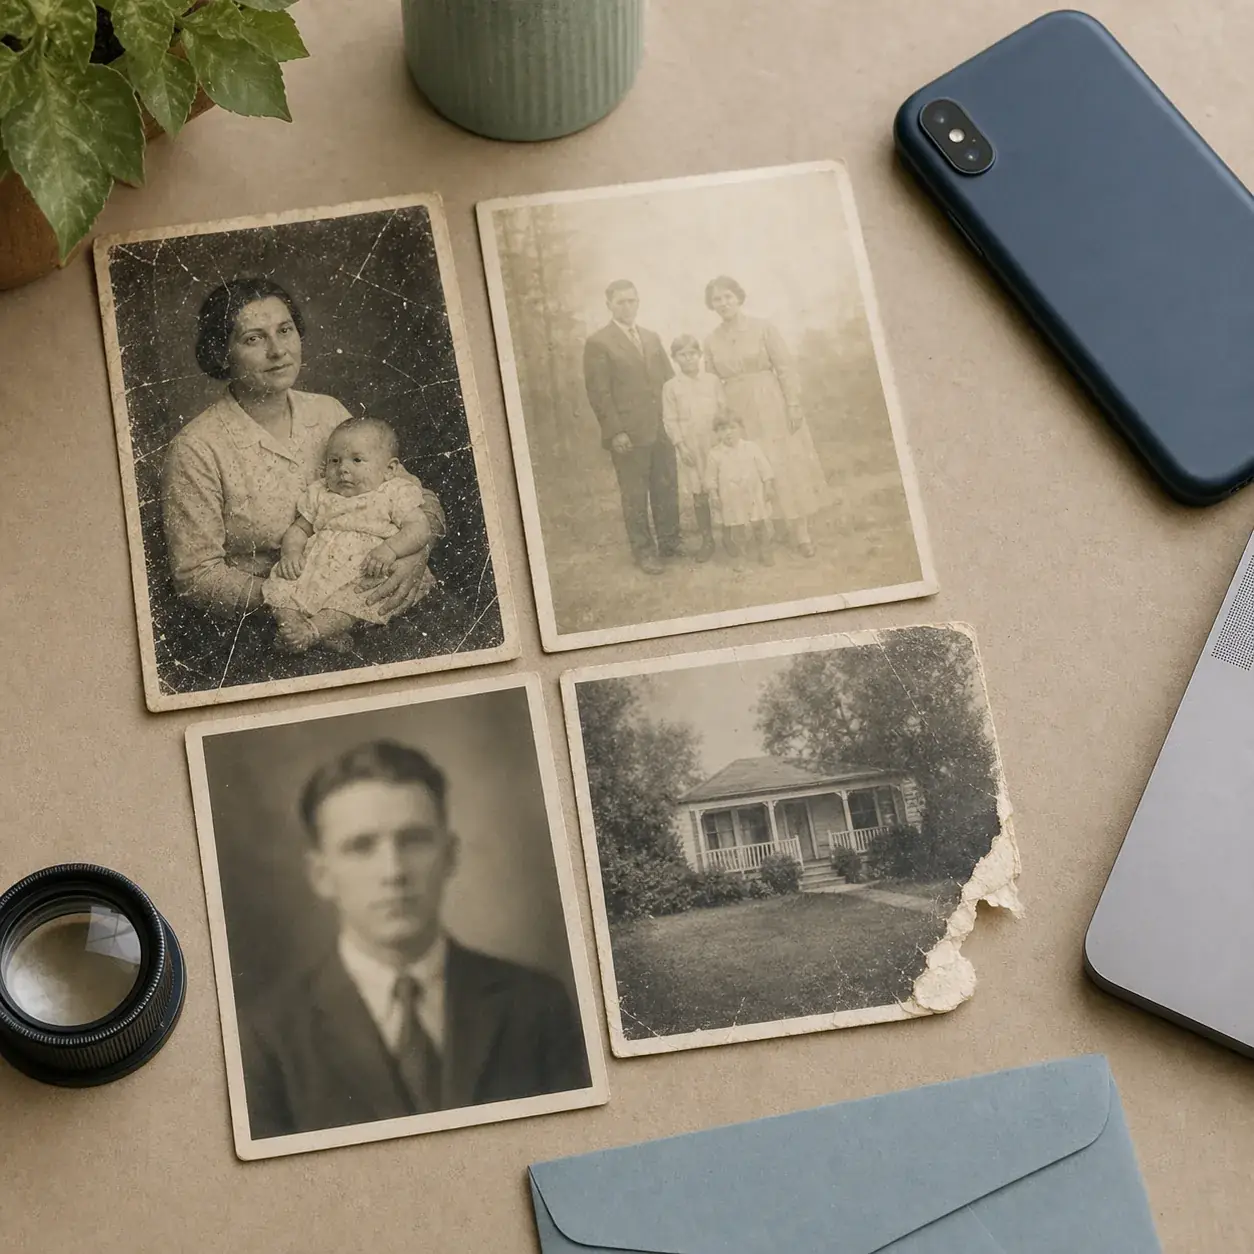
The phrase best old photo restoration online free hides several different decisions. A tool can be excellent at removing dust but weak at torn corners, or good at sharpening a small scan while inventing details in a face. Compare the workflow, not only the before-and-after thumbnail.
| Check | Why it matters | What a good sign looks like | Warning sign |
|---|---|---|---|
| Damage coverage | A faded print and a torn print need different repair behavior | The tool explains which defects it targets | One generic enhancer promises to fix everything |
| Face and identity control | AI can make soft faces look clearer but less faithful | Eyes, mouth, age, hair, and clothing remain recognizable | The person looks younger or gains invented features |
| Free output | A free preview may still require credits to download | The upload and export conditions are visible before processing | A watermark, hidden paywall, or unclear credit cost appears late |
| Privacy | Family photos can include faces, addresses, uniforms, or notes | The service explains storage, deletion, and processing clearly | There is no understandable privacy or retention information |
| Review workflow | You need to compare the output with the original at full size | The tool makes before-and-after review easy | Only a small thumbnail or dramatic demo is shown |
Choose by Damage Type, Not by Marketing Promise
Before choosing a tool, name the main problem in the scan. This keeps you from applying maximum enhancement to a photo that only needs gentle tonal recovery.
A practical match:
- Fading or yellowing: start with contrast, exposure, and color recovery. Compare skin tones and paper texture after the first pass.
- Scratches, dust, and stains: use a cleanup or inpainting workflow, then inspect edges where the tool may smear clothing or hair.
- Blurry faces: use restrained face restoration and compare the eyes, mouth, jawline, and expression with the source.
- Torn corners or missing areas: expect reconstruction rather than true recovery. Mark the output as interpreted when the missing content matters historically.
- Black-and-white photos: restore a faithful monochrome version first. Colorization is a separate creative decision, not proof of the original colors.
If the main problem is one narrow defect, a focused tool such as scratch removal, photo deblurring, or photo colorization may be easier to judge than a general all-in-one enhancer.
What Free Usually Means for Online Photo Restoration
Online restoration services commonly separate the free preview from the final export. Some may ask you to create an account, spend credits, accept a watermark, wait in a queue, or upgrade for larger files. Those conditions are not automatically bad, but they should be visible before you upload a private family image.
- Read the upload and export labels before selecting a sensitive photo.
- Confirm whether the free result can be downloaded at useful resolution and without a watermark.
- Check whether a Google sign-in, account, or credits are required at the processing or download step.
- Look for a privacy policy that explains storage, deletion, and third-party processing.
- Use a low-risk test image first, then decide whether the output quality and terms are acceptable.
Do not label a service “without login” unless the current workflow actually lets a visitor complete the needed task without an account. If the product uses Start with Google or credits, describe that honestly.
A Fair Before-and-After Test for Free Tools
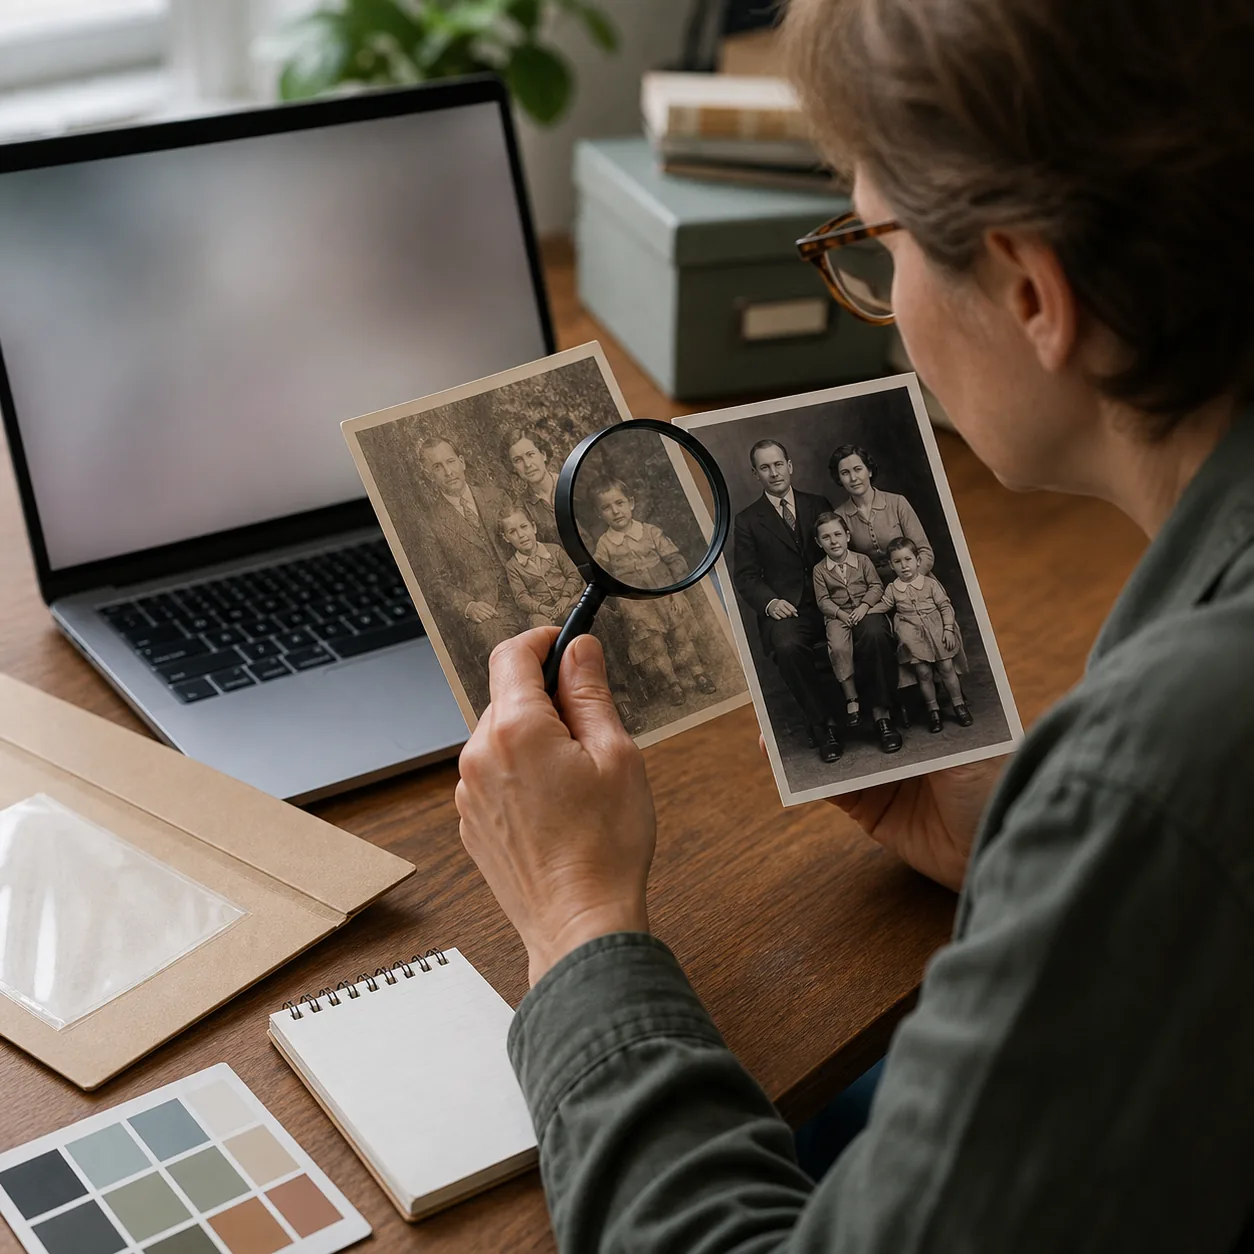
A fair test uses one copy of the same scan, the same crop, and the same review standard. Do not compare one tool's full-size download with another tool's compressed preview.
- Scan or photograph the original in even light and save the untouched master.
- Crop empty borders and make a duplicate for testing; never overwrite the master.
- Run a conservative setting first and save the output with the tool name and date.
- Compare both images at 100 percent, checking faces, hands, text, jewelry, clothing, and architectural lines.
- Keep the result only if it improves the visible defect without changing the historical story.
For a quick first pass, you can try the online old photo restoration tool. If you need deeper local control, the ComfyUI workflow guide explains a more configurable path.
Privacy and Historical Accuracy Checks
The most attractive before-and-after is not always the most faithful. A restoration can improve contrast while still changing a face, inventing a missing sleeve, or smoothing away paper texture that helps identify the original print.
Before you share or print the result:
- Keep the original scan and the restored copy in separate, clearly named files.
- Record the service, date, mode, and prompt or settings used for important family archives.
- Blur or crop sensitive addresses, documents, uniforms, or private notes before uploading when practical.
- Treat AI-filled missing areas as interpretation, and say so when the image is used for research or public history.
- Keep a faithful monochrome version before colorizing a black-and-white photo.
Official Pages Worth Checking Before You Upload
Tool features, free quotas, and retention terms change. Use the official product page and privacy policy as the final source of truth before uploading a sensitive photo.
Useful references:
Frequently Asked Questions
The Best Free Tool Is the One You Can Review Honestly
For a quick one-off restoration, start with a simple online AI tool and test a duplicate of the original scan. Compare the result at full size, check the current free and login conditions, and keep the untouched master. If privacy, batch control, or manual repair matters more than speed, choose a local workflow or desktop editor instead.

Sarah Mitchell, AI Photo Restoration Writer
Sarah writes about AI photo restoration, family-photo preservation, and practical workflows for repairing old images without losing identity or historical context.