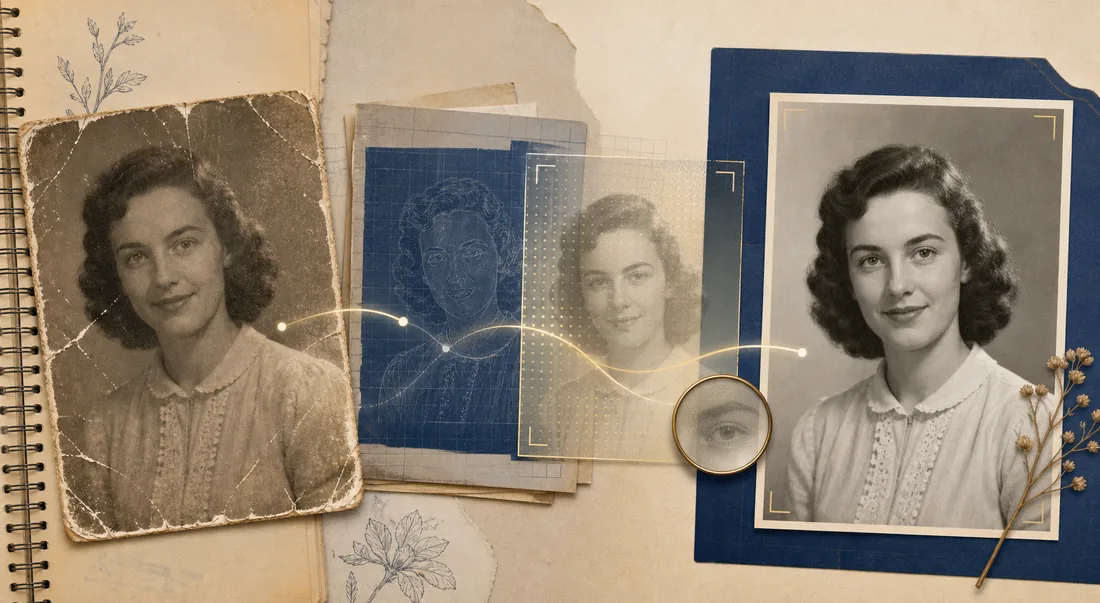
A useful Gemini old photo restoration prompt describes the source, names the visible damage, sets a conservative repair goal, and tells the model what must not change. The best result usually comes from a reviewable first pass rather than a vague request to make the image look new.
Keep the original scan untouched, upload a working copy, and compare every face, hand, garment, and background detail against the source before sharing the restored version.
On this page
- What a Gemini old photo restoration prompt should include
- Copy-paste Gemini prompt for old photo restoration
- Adapt the prompt to scratches, fading, blur, and tears
- How to use Gemini and review the restored image
- Gemini limitations and safer alternatives
- How to improve a weak first result
- Gemini photo restoration FAQ
- Final takeaway
What a Gemini old photo restoration prompt should include
Gemini responds more predictably when the request separates observation from invention. Start by saying what the image is, then describe the damage you can actually see. After that, define the intended finish: a clean, believable restoration that keeps the person, pose, clothing, lighting direction, and period character recognizable. This is more useful than stacking adjectives such as ultra-realistic, perfect, or cinematic.
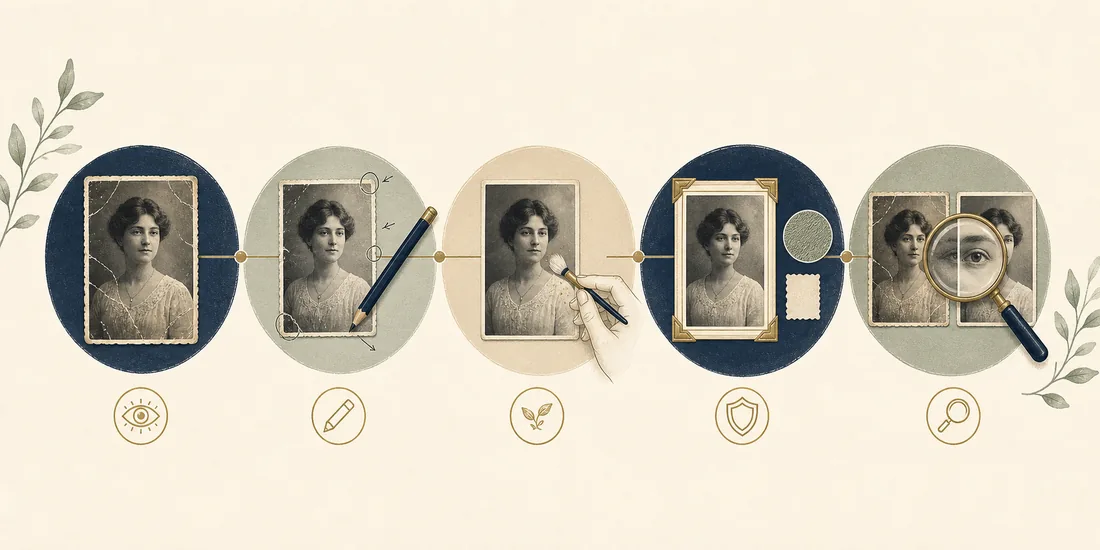
Include these five instructions:
- Source: identify the photo as an old family portrait, wedding photo, document scan, or another specific image type.
- Visible damage: name scratches, dust, fading, stains, torn edges, blur, low contrast, or missing paper rather than asking for every possible fix.
- Repair order: ask for cleanup and tonal recovery before aggressive sharpening, face enhancement, or colorization.
- Preservation rules: keep the same identity, age, expression, pose, clothing, background layout, and historical character unless you explicitly ask for a separate creative version.
- Review target: ask for a natural result with realistic skin texture and no invented jewelry, facial features, text, fingers, or background objects.
If you want a broad collection of reusable templates, see our general old photo restoration prompt guide. This page narrows the advice to Gemini-style image input and the checks that matter after a prompt produces an image.
Copy-paste Gemini prompt for old photo restoration
Use the template below as a starting point, then replace the bracketed description with the damage visible in your scan. It asks for a restoration pass, not a new portrait. If the result changes the face or adds plausible but unverified detail, lower the scope of the next request instead of asking for more realism.
Restore this old family photo conservatively. Clean visible dust, scratches, stains, fading, and uneven contrast while keeping the same people, facial identity, age, expression, pose, clothing, camera angle, lighting direction, and background layout. Repair only details that are reasonably supported by the source. Preserve natural film grain and period texture. Do not beautify, modernize, recolor, change hairstyles, add jewelry, invent text, create extra fingers, or replace missing areas with elaborate new details. Return a faithful restoration suitable for comparison with the original scan.
The phrase reasonably supported by the source is important. A damaged eye, hand, or torn background may not contain enough information for a faithful reconstruction. Treat those areas as uncertain and inspect them at full size.
For a platform-neutral workflow, compare this approach with our guide to using ChatGPT for old photo restoration. The same preservation principles apply even when the interface and model behavior differ.
Prefer a one-click restoration?
Use our online old photo restoration tool when you want a quick repair without building a prompt workflow from scratch.
Restore an old photoAdapt the prompt to scratches, fading, blur, and tears
Do not send the same long instruction for every image. A portrait covered in surface scratches needs a different request from a low-resolution face or a photo with a missing corner. Choosing one main repair goal makes it easier to tell whether Gemini helped or simply changed too many things at once.
Choose one main repair target first
| Photo problem | Useful prompt addition | What to check |
|---|---|---|
| Scratches and dust | Remove surface scratches and dust while preserving film grain and edge detail. | Check that hair, lace, and fine lines were not erased. |
| Fading and yellow cast | Recover gentle contrast and neutralize the visible color cast without inventing historically certain colors. | Compare skin tone, clothing tone, and shadow detail with the scan. |
| Soft or blurry face | Improve legibility with restrained facial cleanup; do not redesign facial features. | Zoom into eyes, mouth, hairline, and face shape. |
| Torn or missing area | Repair the damaged edge with a simple continuation that matches nearby texture; keep uncertain areas understated. | Look for repeated patterns, extra objects, or overly perfect backgrounds. |
| Black-and-white photo | Keep a faithful monochrome restoration first; create a separate colorized version only if desired. | Treat color as an interpretation, not historical proof. |
Specific repair language helps keep a Gemini restoration focused and makes the review step more objective.
A short Gemini prompt for a scratched scan
Remove the visible scratches, dust marks, and small stains from this scanned family portrait. Keep the original face, hair, clothing, pose, background, film texture, and period appearance unchanged. Do not sharpen the face aggressively or add details that are not supported by the scan.
A short Gemini prompt for a faded portrait
Restore the contrast and reduce the yellow fading in this old portrait while preserving the original tonal character. Keep uncertain colors neutral and do not colorize the image. Do not change the person, expression, clothing, lighting direction, or background.
How to use Gemini and review the restored image
- Make a high-quality working copy. Keep the original scan in a separate folder and avoid uploading the only copy.
- Describe the damage before asking for a result. Mention one or two priorities, such as scratches plus fading, instead of every possible defect.
- Run the conservative prompt and save the output with a clear filename. Do not overwrite the source image.
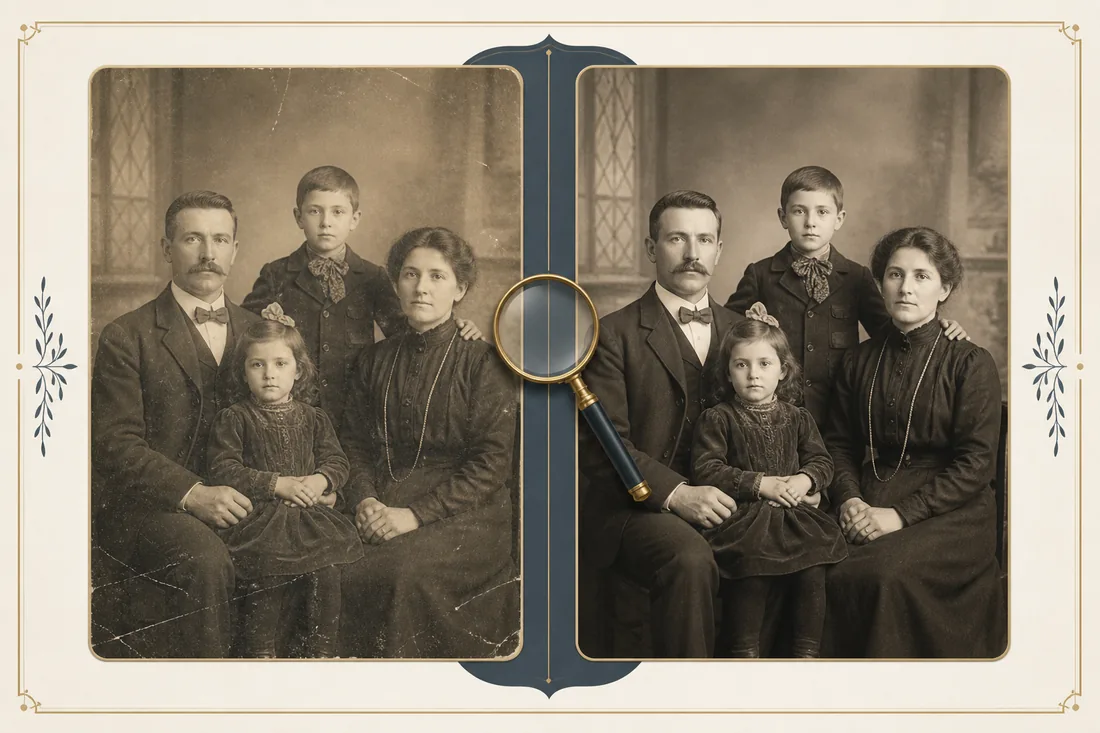
- Compare the result at full size. Check eyes, mouth, hairline, hands, clothing patterns, jewelry, printed text, and the edge of the frame.
- If one area is wrong, ask for a narrower revision or return to the original. Do not keep adding stronger restoration language to force a plausible guess.
- Keep a faithful monochrome or neutral version before trying colorization, portrait styling, or other creative variations.
Google’s official Gemini help and developer documentation are the right places to confirm current image-input and image-generation availability because features can vary by product surface, account, age, region, and plan. The practical rule is simple: verify what your own Gemini interface can do, then describe the desired edit in text rather than assuming every account has the same controls. See the official Gemini Help and Gemini image input documentation for the current product context.
Gemini limitations and safer alternatives
A prompt cannot recover information that was never captured. When a face is only a few pixels wide, a corner is completely missing, or a document contains unreadable text, Gemini may generate a visually convincing guess. That can be useful for a private creative copy, but it should not be presented as a verified historical reconstruction.
Use a different workflow when:
- the photo is fragile or irreplaceable and needs professional handling before scanning;
- the restoration includes many torn or missing areas that need manual masking and layer-by-layer control;
- you must preserve exact document text, uniforms, insignia, dates, or archival evidence;
- the image contains private family information and you have not reviewed the service’s current privacy terms;
- Gemini repeatedly changes identity even after you reduce the prompt to one narrow repair.
For a fast one-off repair, you can also try our online old photo restoration tool. For more control, use a local editor or a node-based workflow and keep separate archive, restoration, and sharing copies. The right choice depends on whether your priority is speed, privacy, repeatability, or historical fidelity.
How to improve a weak first result
When the first Gemini result looks attractive but inaccurate, do not rewrite the entire prompt with more adjectives. Identify the exact failure and make one controlled change. This keeps the comparison meaningful and makes it easier to return to the last faithful version.
- Name the defect: for example, the eyes became too large, the lace pattern changed, or a background object was invented.
- State the correction as a constraint: restore the original eye shape, preserve the lace pattern, or leave the uncertain background area simple.
- Ask for only that revision and keep the same source image and repair goal.
- Compare the new output with the previous version and the original scan, then keep the most faithful copy rather than the sharpest copy.
Revise only the eye and mouth area in the previous restoration. Match the original face shape, eye spacing, eyelid direction, mouth position, and expression from the source image. Do not alter hair, clothing, background, contrast, or any other part of the photo. If the source does not support a detail, keep it soft and understated.
Save each meaningful version. A simple filename pattern such as family-portrait-source, family-portrait-cleanup, and family-portrait-review makes it much harder to confuse an AI interpretation with the original archive master.
Gemini photo restoration FAQ
Final takeaway
The strongest Gemini old photo restoration prompt is specific, conservative, and easy to review. Describe the damage you can see, repair one main problem at a time, protect identity and period texture, save every version, and keep the original scan untouched. When Gemini has to guess missing information, label the result as an interpretation and switch to a manual or local workflow when fidelity matters more than convenience.

Sarah Mitchell, AI Photo Restoration Writer
Sarah writes practical AI photo-restoration guides focused on family archives, identity-preserving edits, and safe comparisons between original scans and generated results.