
When you repair torn old photos, protect the original and work on a high-resolution copy. Do not add tape or glue. Place the pieces together, scan them flat at 600 DPI or higher, and rebuild the seam with healing, cloning, or reviewed AI tools.
The goal is not to invent a new face. It is to recover the surviving image, keep a clear record of what was reconstructed, and preserve an untouched scan so every later edit can be reversed.
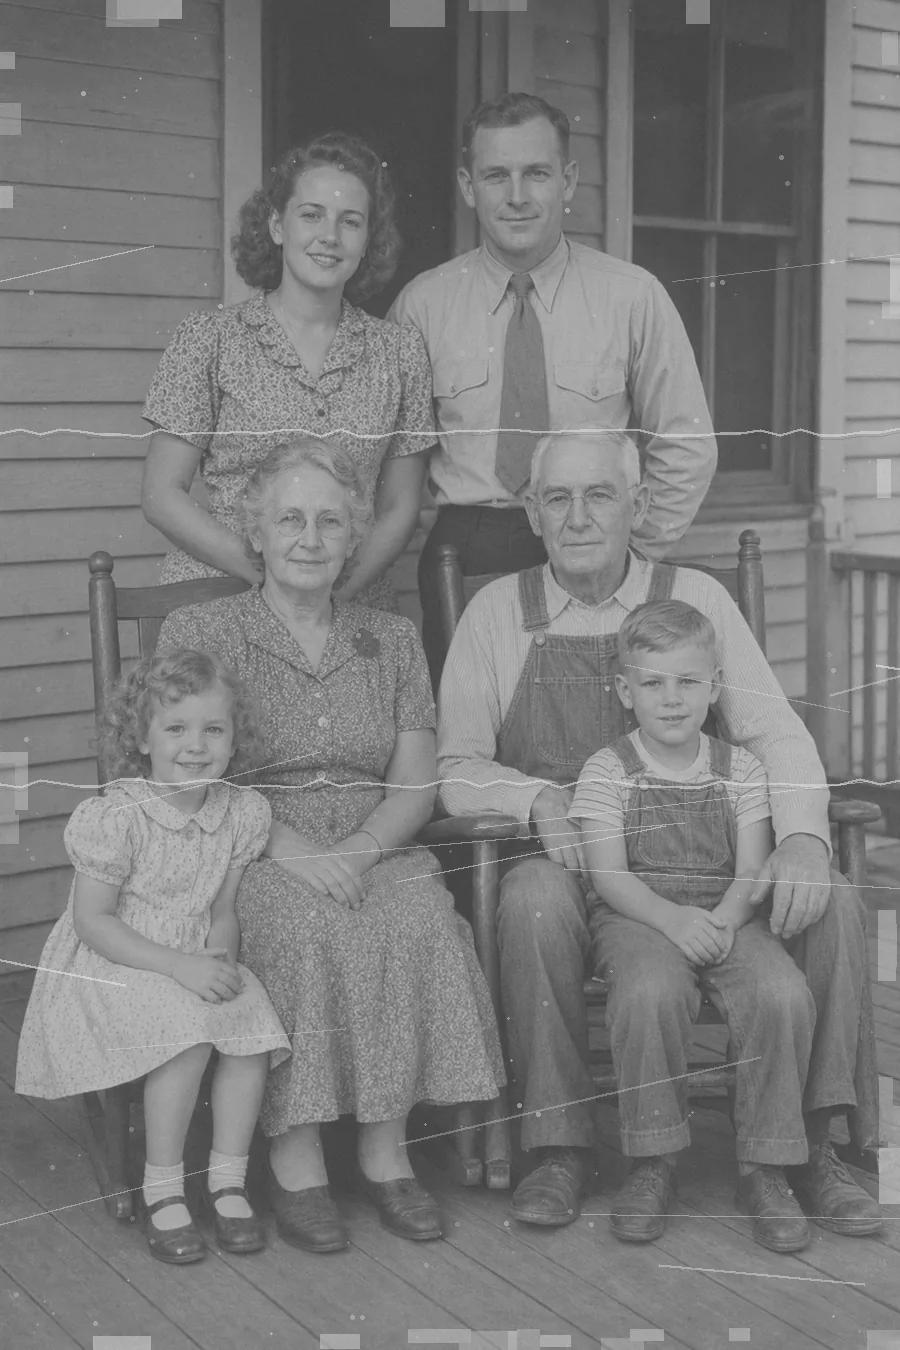
Table of Contents
- Quick Answer: How to Repair Torn Old Photos
- Protect the Original Before You Repair Anything
- Reassemble the Pieces and Make a Master Scan
- Rebuild the Tear on the Digital Copy
- Handle Missing Corners, Gaps, and Faces Honestly
- Choose AI, Photoshop-Style Editing, or a Local Workflow
- Quality-Check the Repair Before Printing or Sharing
- Sources for Repair Torn Old Photos and When to Ask a Conservator
- Frequently Asked Questions
- Repair the Tear, Preserve the Evidence
Quick Answer: How to Repair Torn Old Photos
Treat a torn photograph as a separation problem. Handle pieces by their edges, avoid tape and liquid, align them face-up on a clean scanner bed, make a master scan, and repair only the copy. If a corner or face is missing, label added pixels as an interpretation.
| Damage | First move | Do not do |
|---|---|---|
| Clean split or straight tear | Fit the pieces together and scan as one image | Trim the ragged edge or force the paper flat |
| Creased tear with loose fibres | Photograph or scan each piece before moving it | Press the crease with heat or water |
| Missing corner | Keep the empty area in the master and rebuild on a copy | Let AI crop away meaningful borders |
| Tear through a face | Use conservative cloning and compare with another family photo | Accept invented eyes, teeth, or age cues without review |
Choose the least aggressive intervention that solves the visible problem.
If the print is wet, mouldy, stuck to another surface, or irreplaceable, stop home treatment and ask a photograph conservator. This guide begins after the source is stable.
Protect the Original Before You Repair Anything
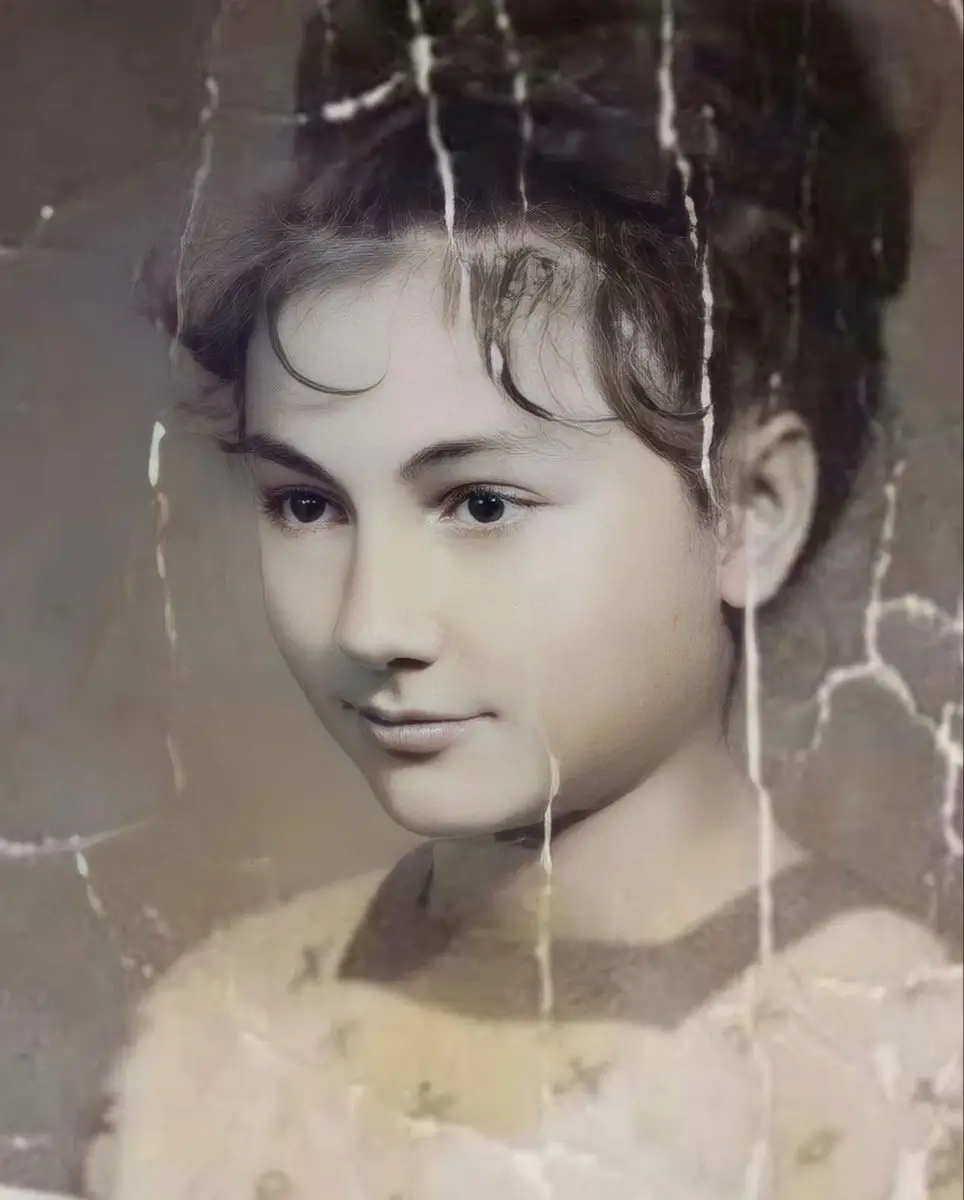
Permanent damage often happens before editing. Adhesive can yellow paper, and removing tape may lift the image layer. Document the condition and keep every fragment for scanning instead of forcing the print to look whole.
Use this handling checklist:
- Wash and dry your hands; hold pieces by the edges.
- Place a clean sheet under the pieces so fibres and dust stay visible.
- Photograph the arrangement and the back of each fragment before moving it.
- Keep fragments flat in an acid-free sleeve; never stack image surfaces together.
- Avoid tape, glue, laminating film, water, and household cleaners.
- Note the date, people, orientation, and areas already missing.
Reassemble the Pieces and Make a Master Scan
A flatbed scanner is safer than a feeder because the paper avoids rollers. Clean the glass, turn off automatic sharpening, and arrange the pieces face-up. Align the image rather than the torn edge; a small gap is better than bending the print.
| Setting | Practical starting point | Reason |
|---|---|---|
| Resolution | 600 DPI for normal prints; 1200 DPI for small prints or heavy cropping | More real pixels give the repair more texture to copy |
| File format | TIFF or PNG for the master | Avoids JPEG compression while you align and repair |
| Color | 48-bit color for color prints; grayscale for true monochrome | Preserves subtle stains and faded channels |
| Orientation | Square to the glass with the full border included | Keeps dates, notes, and edge clues available |
- Scan the complete arrangement once without editing and save the untouched master.
- Make a working duplicate; rotate and crop only that copy.
- Rescan individual pieces if a shadow hides detail at the seam.
- Use clear names such as `family-master.tif` and `family-repair-v1.tif`, then back up the master.
Without a scanner, photograph the pieces on a matte surface in soft indirect light. Keep the camera parallel, avoid glare, and use its highest native resolution. A flatbed scan remains better for printing and detailed reconstruction.
Rebuild the Tear on the Digital Copy
Zoom to 100 percent and repair the seam in short sections using surviving texture. Healing blends colour and texture; cloning copies a controlled patch; a mask keeps changes reversible. Work on a new layer and save versions instead of overwriting the first repair.
A reliable digital order is:
- Align the pieces and correct rotation before painting over the tear.
- Remove dust and scanner marks crossing the seam.
- Use soft healing for paper texture and low-hardness cloning for clothing, wood, or straight edges.
- Blend each side of a face separately; never smear across eyes, hairlines, or mouths.
- Use generative fill only on simple backgrounds, inspect every edge, and keep a dated layer or mask.
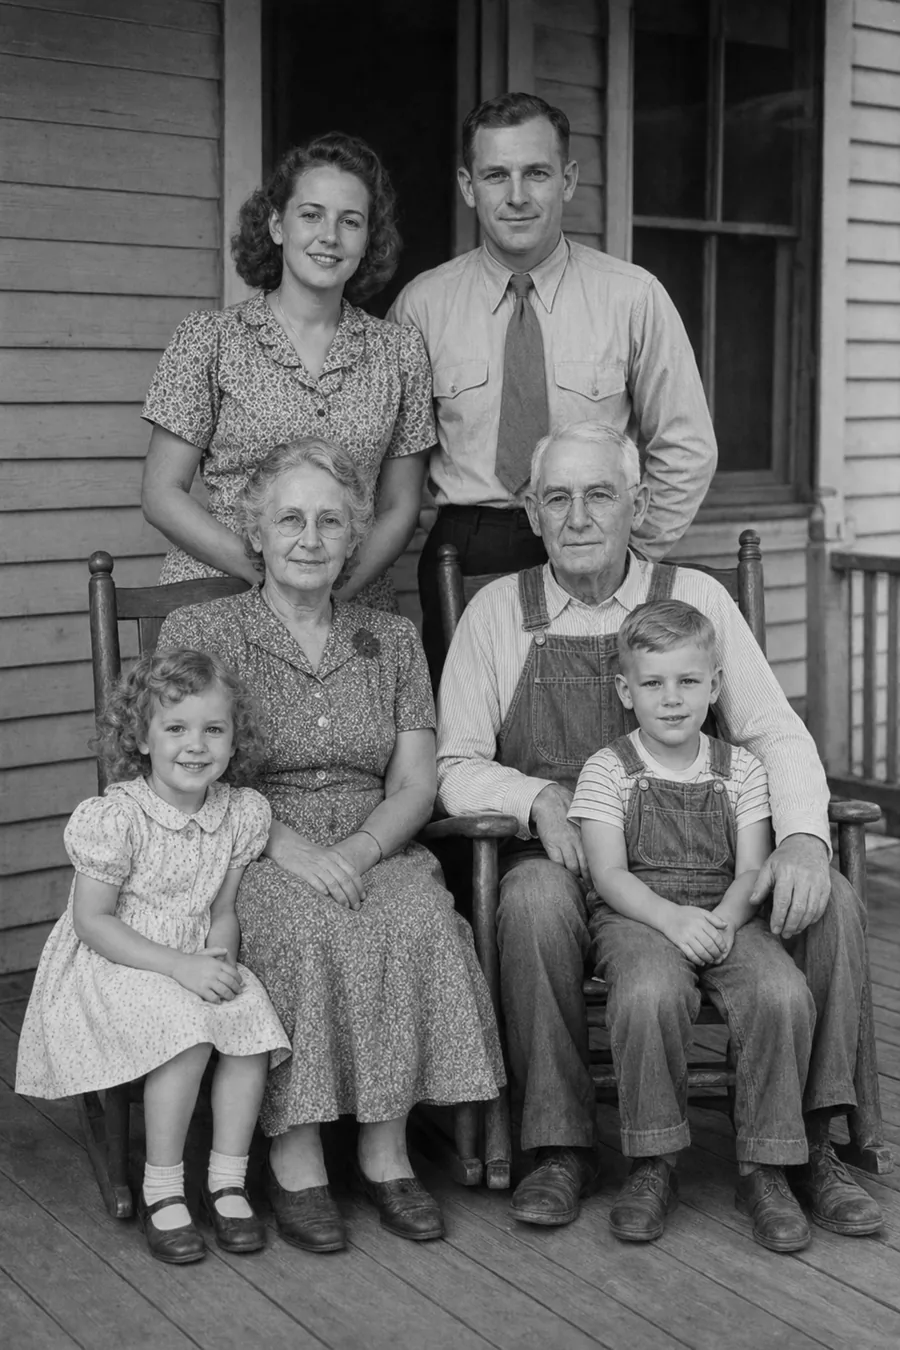
AI can combine seam cleanup and mild enhancement on a working copy. Describe the damage, request identity preservation, keep the master unchanged, and compare the result before sharing or printing.
Handle Missing Corners, Gaps, and Faces Honestly
A tear may preserve information on both sides; a missing piece does not. You can create a convincing continuation, but no editor can prove the original pattern or expression. Record that limit and keep the gap visible in the master.
| Missing area | Reasonable approach | Review question |
|---|---|---|
| Plain wall, sky, or floor | Clone nearby texture or use a restrained fill | Does the grain and perspective continue naturally? |
| Clothing or furniture edge | Rebuild from adjacent shapes on a separate layer | Did the repair invent a modern cut or pattern? |
| Part of a face or hand | Use family references and conservative manual work | Are eyes, mouth, age, and expression still supported by evidence? |
| Large subject or entire corner | Crop honestly or request professional restoration | Would a viewer mistake a guess for a historical fact? |
When the missing area changes the person’s identity, a faithful crop is often more trustworthy than a beautiful invention.
Choose AI, Photoshop-Style Editing, or a Local Workflow
Choose the tool by control level. If you repair torn old photos repeatedly, a local workflow suits private archives; online AI suits one or two copies; Photoshop, Affinity Photo, or GIMP suits layers and masks.
| Workflow | Best fit | Main caution |
|---|---|---|
| Online AI restoration | Fast tear cleanup on a non-sensitive working copy | Review privacy terms and face changes |
| Photoshop or Affinity Photo | Precise seams, masks, layers, and print preparation | Manual work takes practice |
| GIMP | Free learning and careful clone/heal edits | Fewer guided AI repair features |
| Local open-source pipeline | Private archives and repeatable batch settings | Models can hallucinate missing detail and need technical setup |
Use AI for a first pass, then correct the seam manually. If the result looks like a new portrait, reduce the strength and return to the scan.
Quality-Check the Repair Before Printing or Sharing
For anyone who must repair torn old photos, a tear may vanish at thumbnail size while a face changes at full size. Review at 100 percent and at print size, comparing the working copy with the untouched master.
- Check the seam for repeated texture, halos, hard edges, and bent lines.
- Compare eyes, mouth, nose, hairline, hands, clothing, and jewellery with the scan.
- Inspect borders and handwritten dates so context is not cropped away.
- Export TIFF or PNG for the archive and JPEG or WebP for sharing.
- Keep the master, layers, export, change note, and a backup together.
Try the site’s damaged photo repair tool on a duplicate scan. Use scratch removal or the faded photo workflow after the seam is stable.
Sources for Repair Torn Old Photos and When to Ask a Conservator
Digital repair suits a dry, stable print that is safe to scan. For mould, active moisture, stuck layers, flaking, or a historically important original, ask a conservator. NEDCC notes that tape adhesive can stain paper and become harder to treat with age.
Useful references:
Frequently Asked Questions
Repair the Tear, Preserve the Evidence
To repair torn old photos responsibly, separate object care from digital editing: protect every fragment, make a high-resolution master scan, rebuild the tear on a copy, and label missing information. A restrained repair that keeps identity and context is better than a perfect-looking invention.

Sarah Mitchell, AI Photo Restoration Writer
Sarah writes about AI photo restoration, careful scanning, family-photo preservation, and practical ways to repair damage without changing identity.