The best way to store old photos is a two-part system: place each original print in a photo-safe enclosure inside a sturdy archival box, then scan the important images and keep at least three digital copies on two kinds of storage with one copy elsewhere. A single album, phone, cloud account, or hard drive is not a complete archive.
Start with clean, dry photos. If a print is wet, moldy, stuck to glass, or flaking, isolate it and ask a photograph conservator before cleaning or separating it.
In this guide
- The short answer: use physical and digital protection
- How to store printed photos safely
- Control light, heat, humidity, and handling
- Scan once, then use a 3-2-1 digital backup
- Organize photos so future family members can understand them
- Storage mistakes to avoid
- Old photo storage FAQ
- Preserve the print and the story
The short answer: use physical and digital protection
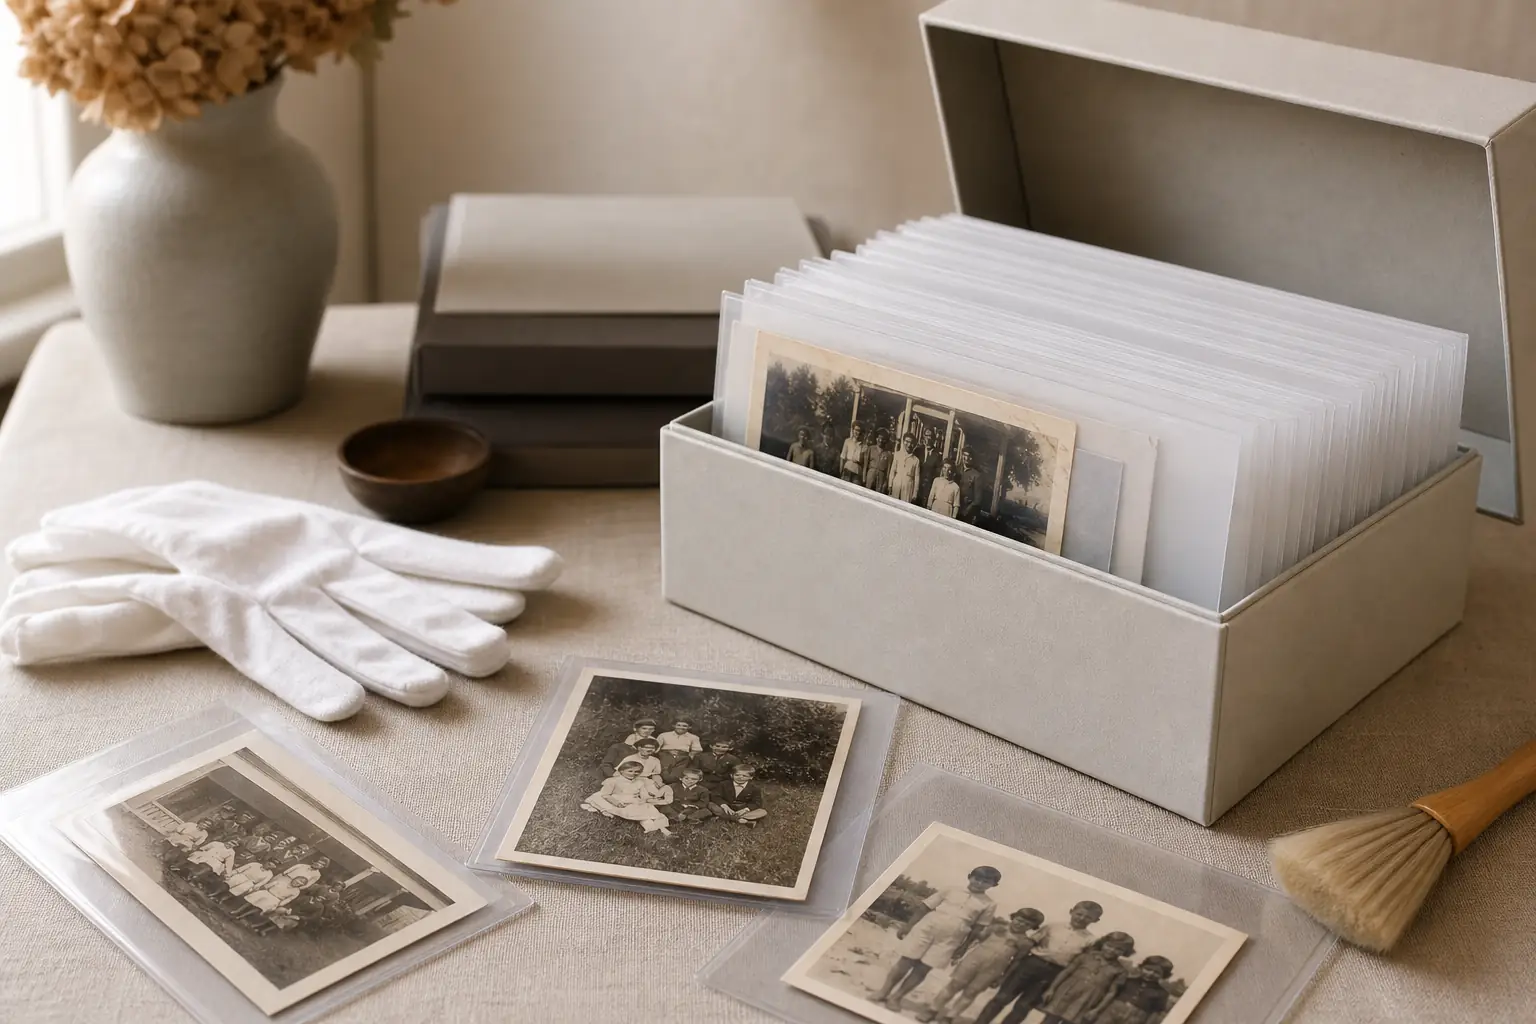
Use archival-quality polyester, polypropylene, or polyethylene sleeves and acid-free, lignin-free boxes for physical prints. Store the box in a cool, dry, dark interior space—not an attic, basement, garage, or sunlit shelf.
A practical storage plan
| Layer | Best choice | Avoid |
|---|---|---|
| Original prints | Photo-safe sleeves or interleaving paper in an archival box | PVC sleeves, rubber bands, pressure-sensitive tape |
| Room | Stable interior closet with moderate temperature and humidity | Attic, basement, garage, exterior wall |
| Digital master | High-resolution TIFF or PNG scan | Only a compressed social-media copy |
| Backup | Computer or SSD + second drive + off-site/cloud copy | One device or one account |
This page focuses on long-term preservation. For capture settings, see how to scan old photos; for surface dirt, follow the separate safe cleaning guide.
Restore a working copy after you scan
Keep the master untouched, then repair scratches, fading, and damage on a duplicate.
Try Photo RestorationHow to store printed photos safely
1. Sort without forcing damaged prints apart
Work on a clean, dry table with food and drinks removed. Hold sound prints by the edges with clean, dry hands. Cotton gloves can reduce fingerprints but may snag fragile edges, so careful clean hands are often safer for torn or brittle material.
2. Choose photo-safe enclosures
Look for products sold as photo-safe, acid-free, and lignin-free. Clear sleeves should be polyester, polypropylene, or polyethylene rather than PVC. Paper folders and interleaving sheets should pass a recognized photographic activity test when possible.
3. Box by size and orientation
Keep photographs flat when practical, support oversized prints so they do not sag, and avoid overfilling. Do not mix heavy albums on top of loose photographs. Label the outside of the box and use a soft pencil on an enclosure—not ink or adhesive labels on the original.
The Library of Congress advises protecting photographs from light, pollutants, poor enclosures, and unstable temperature or humidity. See its care guidance for photographs.
Control light, heat, humidity, and handling
A stable interior closet is usually better than a space with extreme daily or seasonal swings. Keep boxes off the floor and away from plumbing, radiators, vents, exterior walls, and direct sunlight. Darkness matters because display light causes cumulative fading.
Risk check
| Risk | What it does | Safer response |
|---|---|---|
| High humidity or leaks | Encourages mold, blocking, and emulsion damage | Move boxes above floor level; fix moisture first |
| Heat | Accelerates chemical deterioration | Choose the coolest stable living-space location |
| Sunlight | Fades image dyes and paper | Display copies; archive originals in darkness |
| Tape and rubber bands | Stain, distort, and tear prints | Use sleeves, folders, and properly sized boxes |
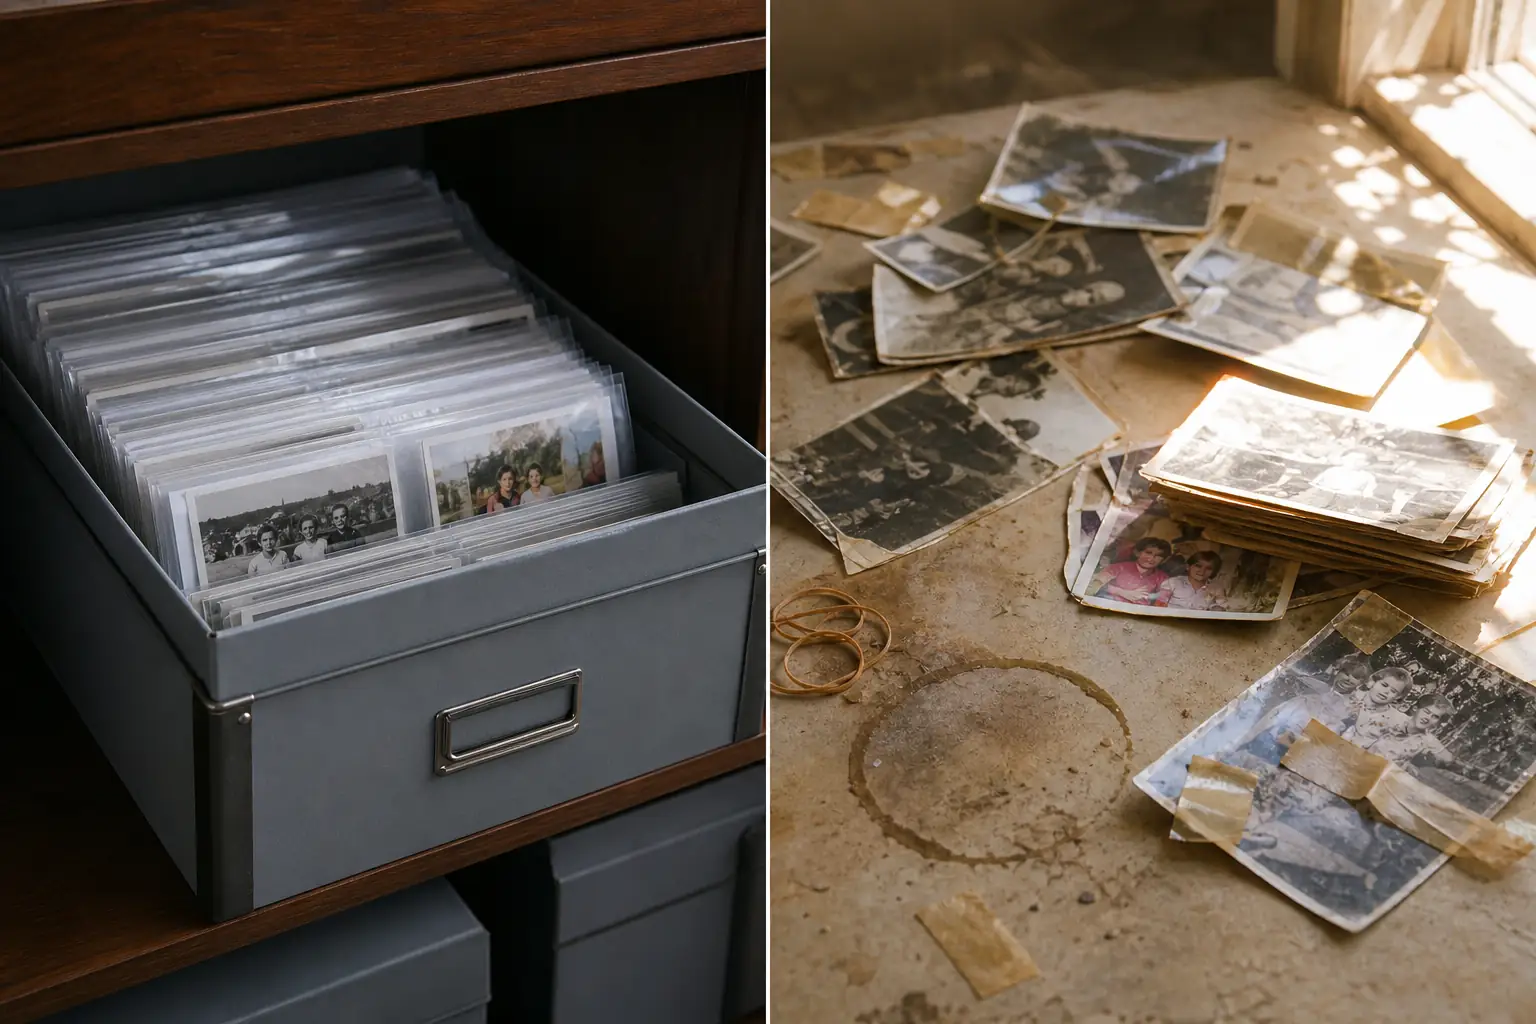
If you want to display an irreplaceable original, use UV-filtering glazing, avoid direct sun, and rotate it with a copy. For most family collections, a good scan and a reproduction print let the original remain protected.
Scan once, then use a 3-2-1 digital backup
Physical storage protects the object; a digital archive protects access. Scan the important photographs before further deterioration or a household emergency. Keep an untouched master scan and make separate edited copies for restoration, printing, and sharing.
- Create a master scan at an appropriate resolution and save it as TIFF or PNG.
- Name files consistently, for example 1954-smith-family-picnic-001.tif.
- Keep one working copy on your computer or primary drive.
- Copy the archive to a second independent drive.
- Keep one additional copy off-site or in a reputable cloud service.
- Test a small restore every few months and replace failing drives.
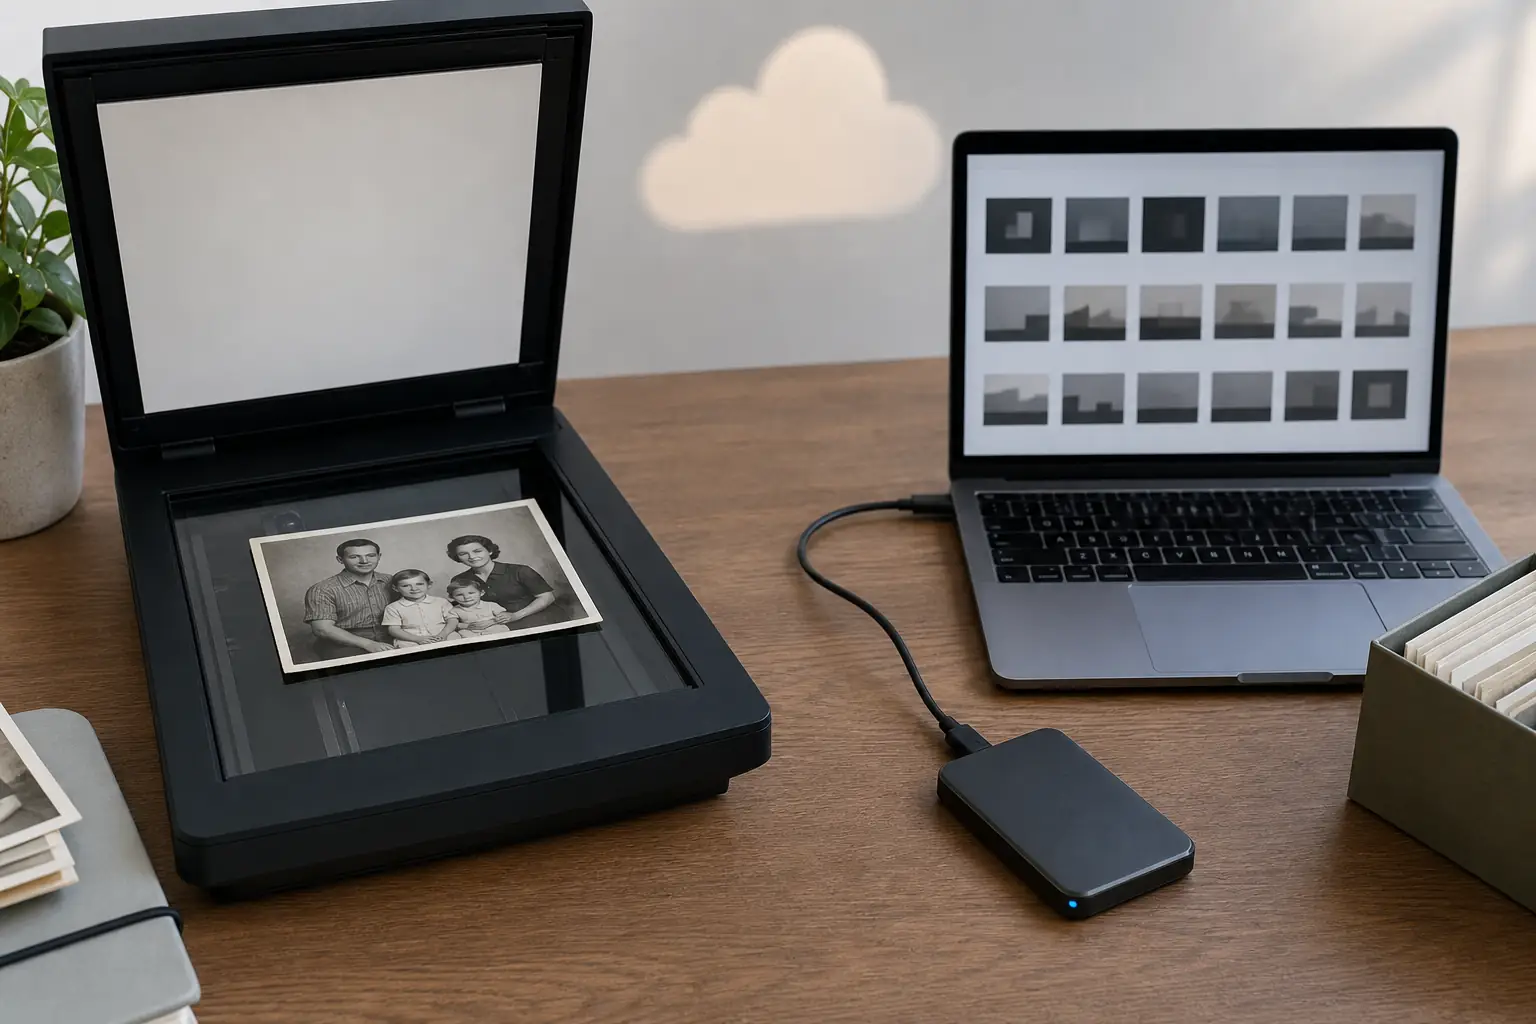
Do not treat synchronization as the same thing as backup: accidental deletion or ransomware can sync to every connected device. A disconnected drive, versioned backup, or separate cloud history gives you another recovery path.
Organize photos so future family members can understand them
An archive without names and dates quickly becomes a folder of mysteries. Record who is pictured, approximate date, place, photographer, event, and the location of the physical original. Put uncertain information in brackets or mark it as estimated rather than turning a guess into a fact.
Useful fields
- File name or unique ID
- People and relationships
- Approximate date and location
- Event or story
- Rights or photographer when known
- Physical box and sleeve number
Export a simple CSV or text inventory beside the image folders. Avoid relying only on metadata inside one photo-management app, because another program may not preserve every field.
Storage mistakes to avoid
- Do not laminate originals.
- Do not use magnetic self-stick albums, PVC pages, rubber bands, staples, or household tape.
- Do not write on the image side or press hard with a ballpoint pen.
- Do not keep the only scan on a phone, memory card, or social platform.
- Do not separate stuck, wet, moldy, or flaking photographs by force.
- Do not restore over the only digital master; edit a duplicate.
If damage is already visible, digitize the print carefully and then decide whether it needs professional conservation or digital repair. Our damaged photo repair tool works on a copy, while the restoration guide explains how to preserve the original look.
Old photo storage FAQ
Preserve the print and the story
The best way to store old photos is not one container or one cloud service. Protect clean, dry originals in photo-safe enclosures, choose a stable dark room, scan important prints, maintain independent backups, and document the people and events. That combination keeps both the physical evidence and the family context usable.

Sarah Mitchell
Practical guidance for scanning, restoring, organizing, and preserving family photographs.